Convert the Rover into one of the weirdest musical instruments of all time. In this activity you’ll learn to code the Rover to act like a Theremin and play it without touching a thing.
Getting Into Music
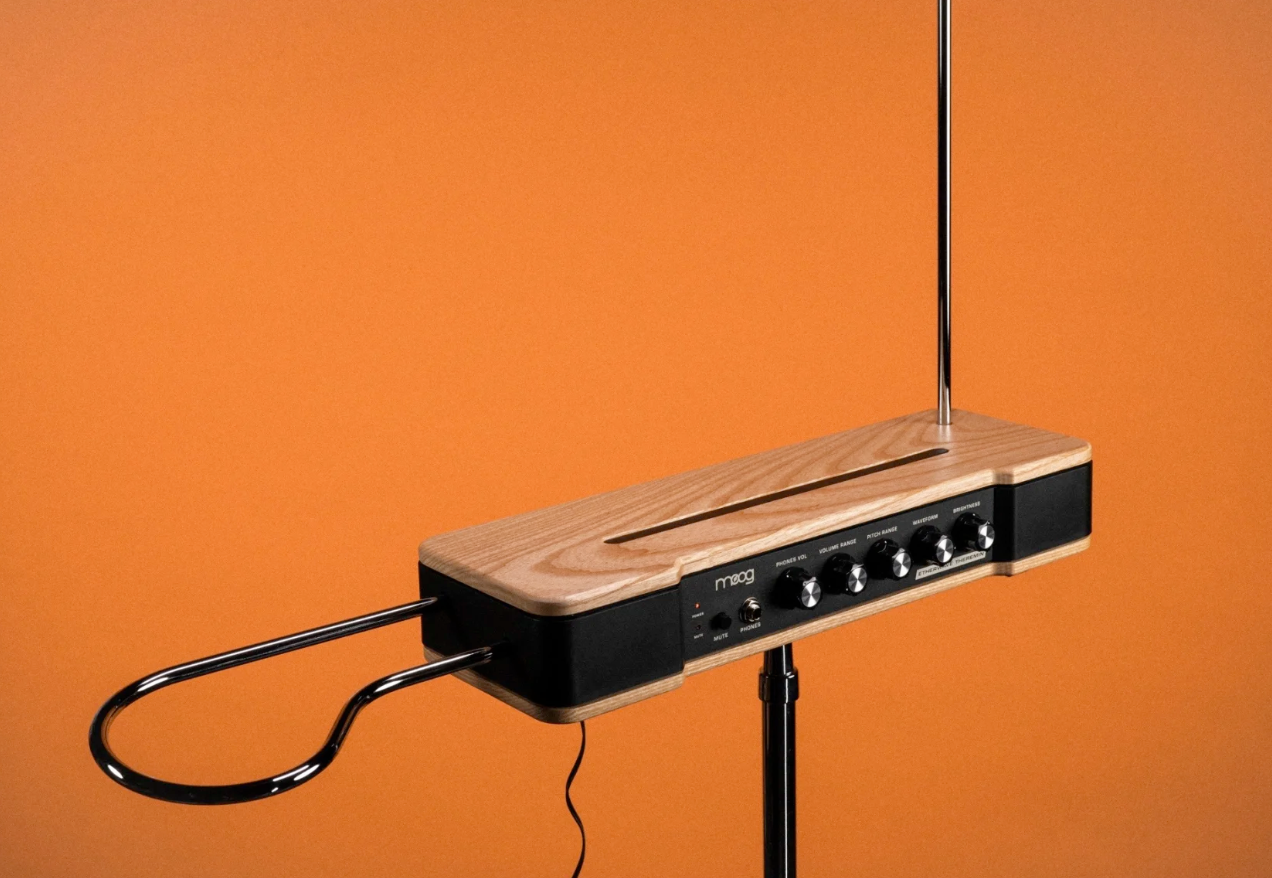
A traditional Theremin with two control antennae
As instruments go, the Theremin is quite an odd machine. The device uses two antennae surrounded by electromagnetic fields, which can be affected when a hand is moved near them. One antenna (horizontal) controls the note’s volume; the other (vertical) controls the note’s pitch.
We’re going to make the Rover behave similarly to play music. For an introduction to reading music and for an example song, see the Making Music activity guide.
Setup
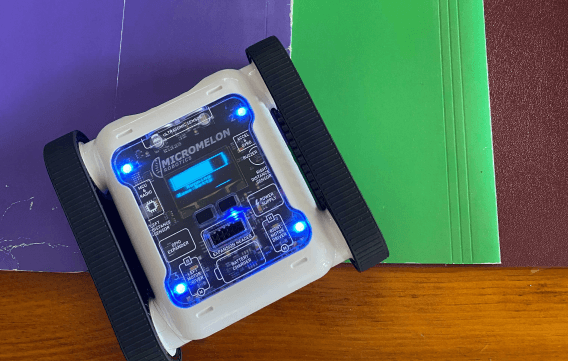
To make our Rover Theremin, we need two sensors to act as the two antennae. We’ll use the left IR sensor as volume control and the right IR sensor as pitch control. Covering the left IR causes the Rover to play a note; the distance of your hand from the right IR controls the note’s pitch.
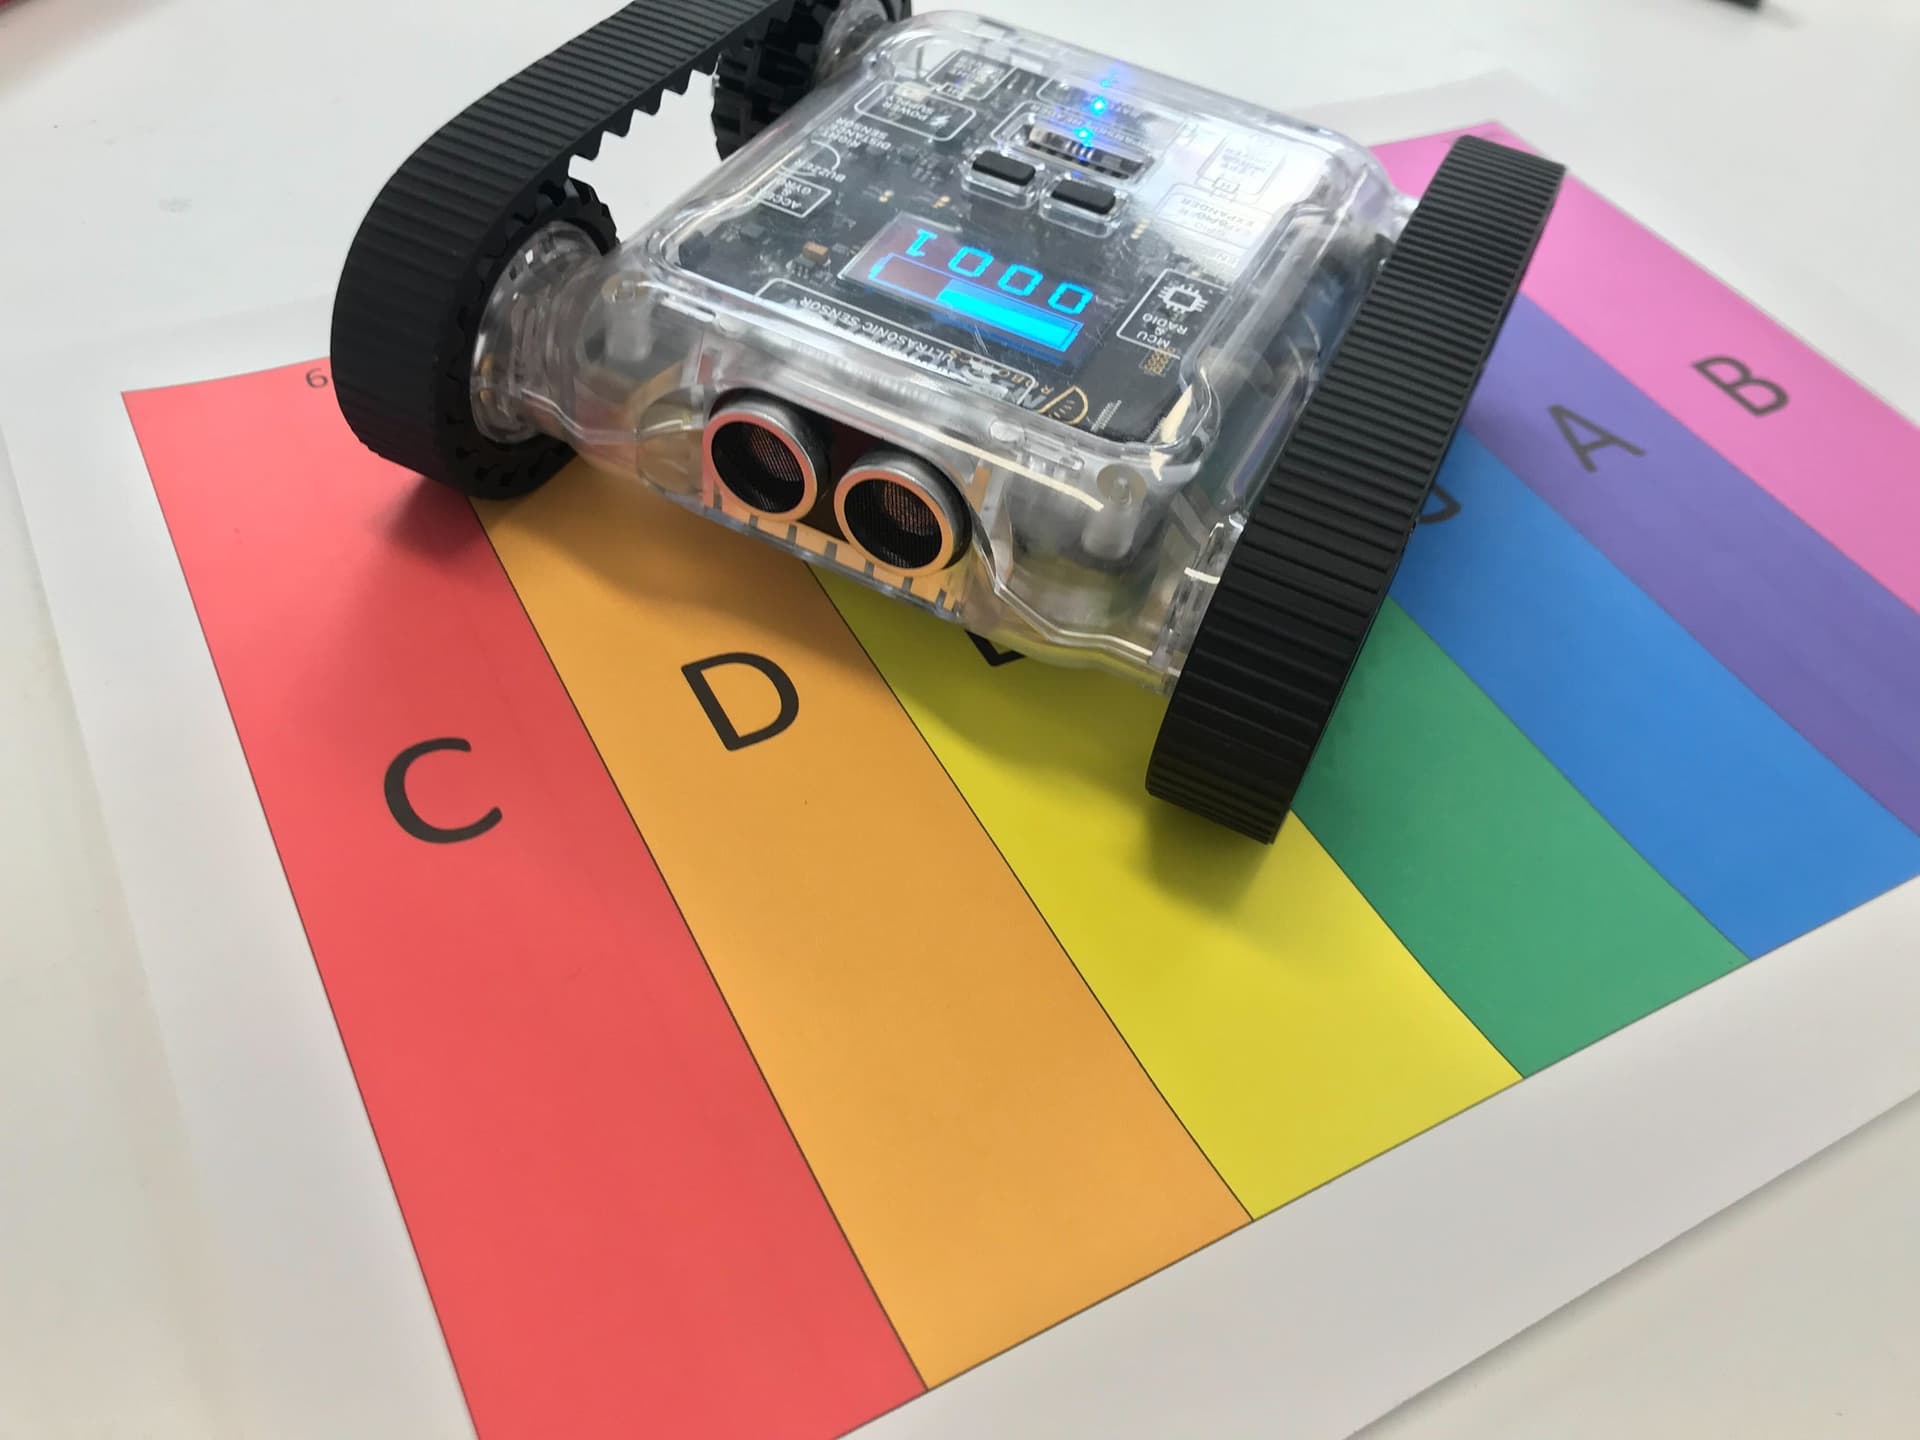
Print this note scale to get started: Note_Scale.pdf
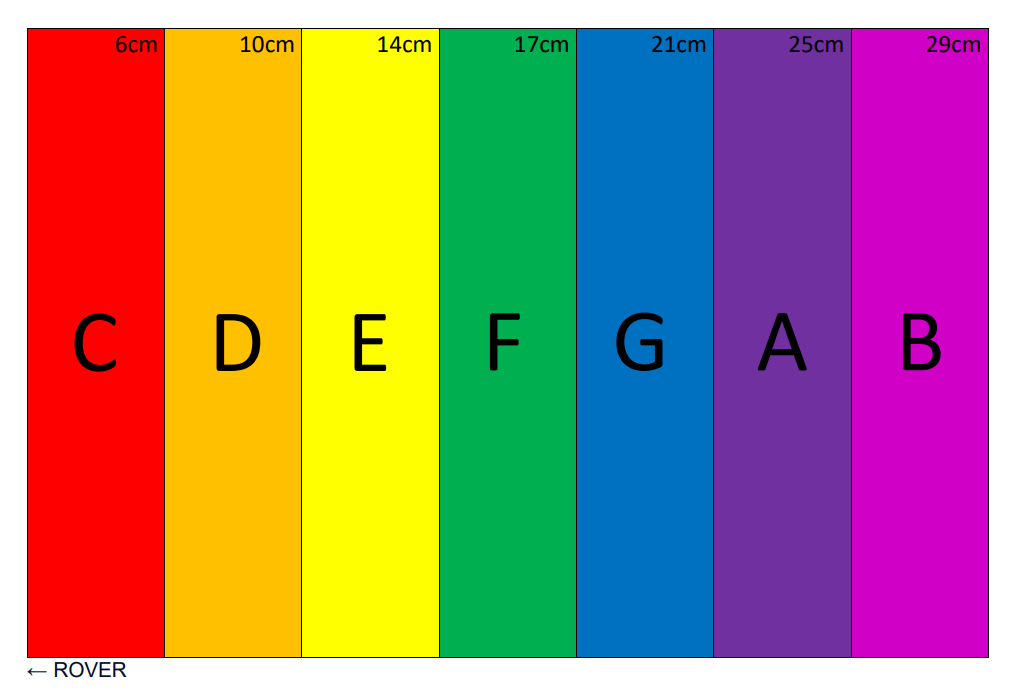
Printable note scale showing distances for each note
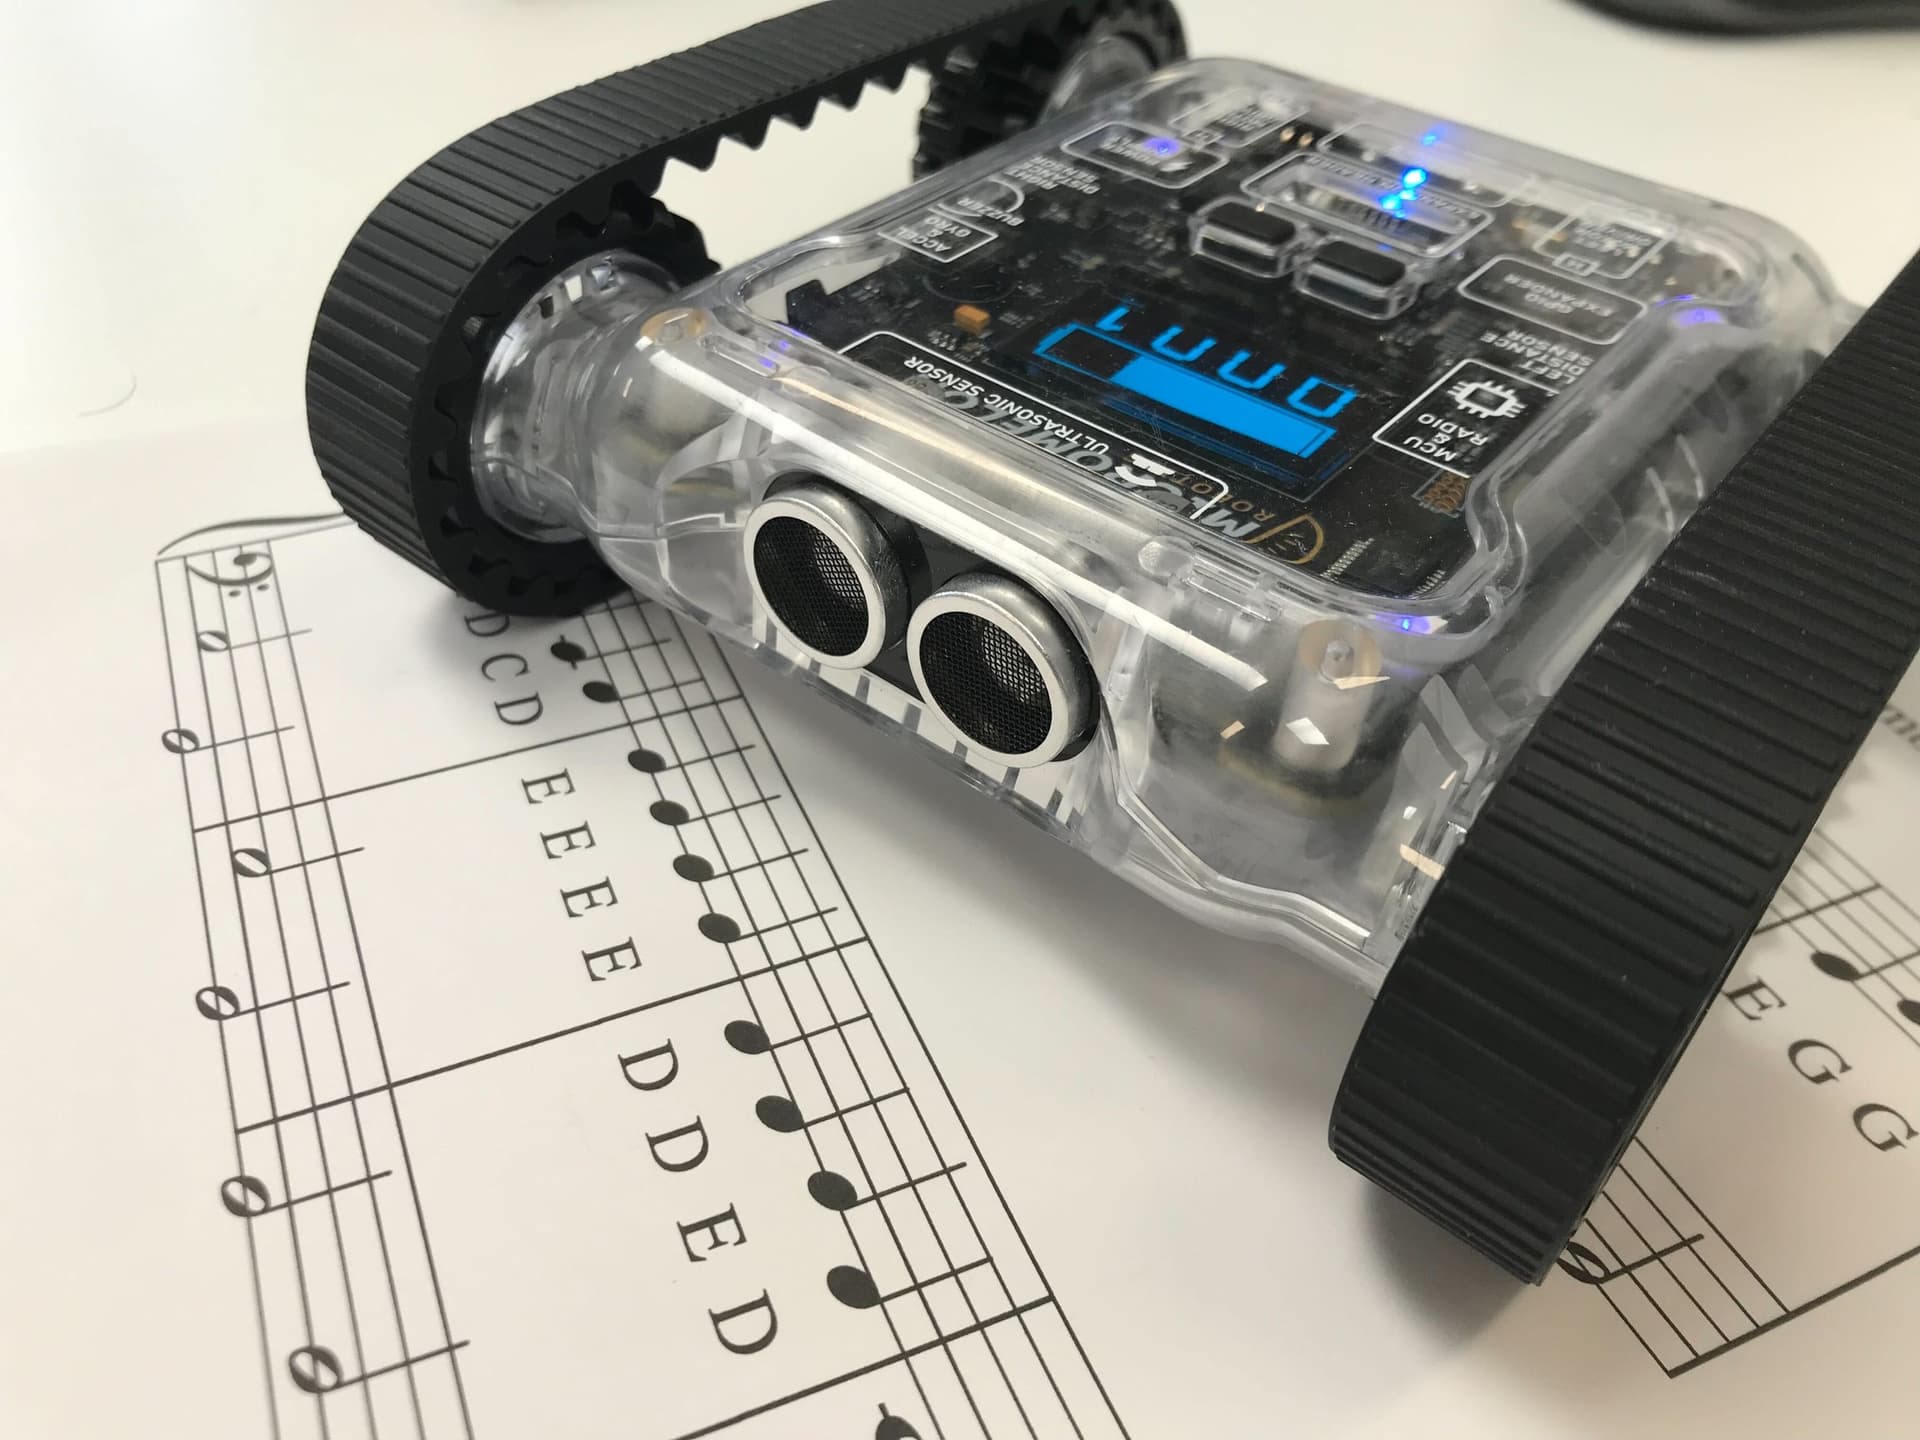
After printing, position the Rover so the right track is precisely on the line for note C. Each note has a number in cm, this indicates how far each line is from the Rover’s IR sensor. We use this information in the code.
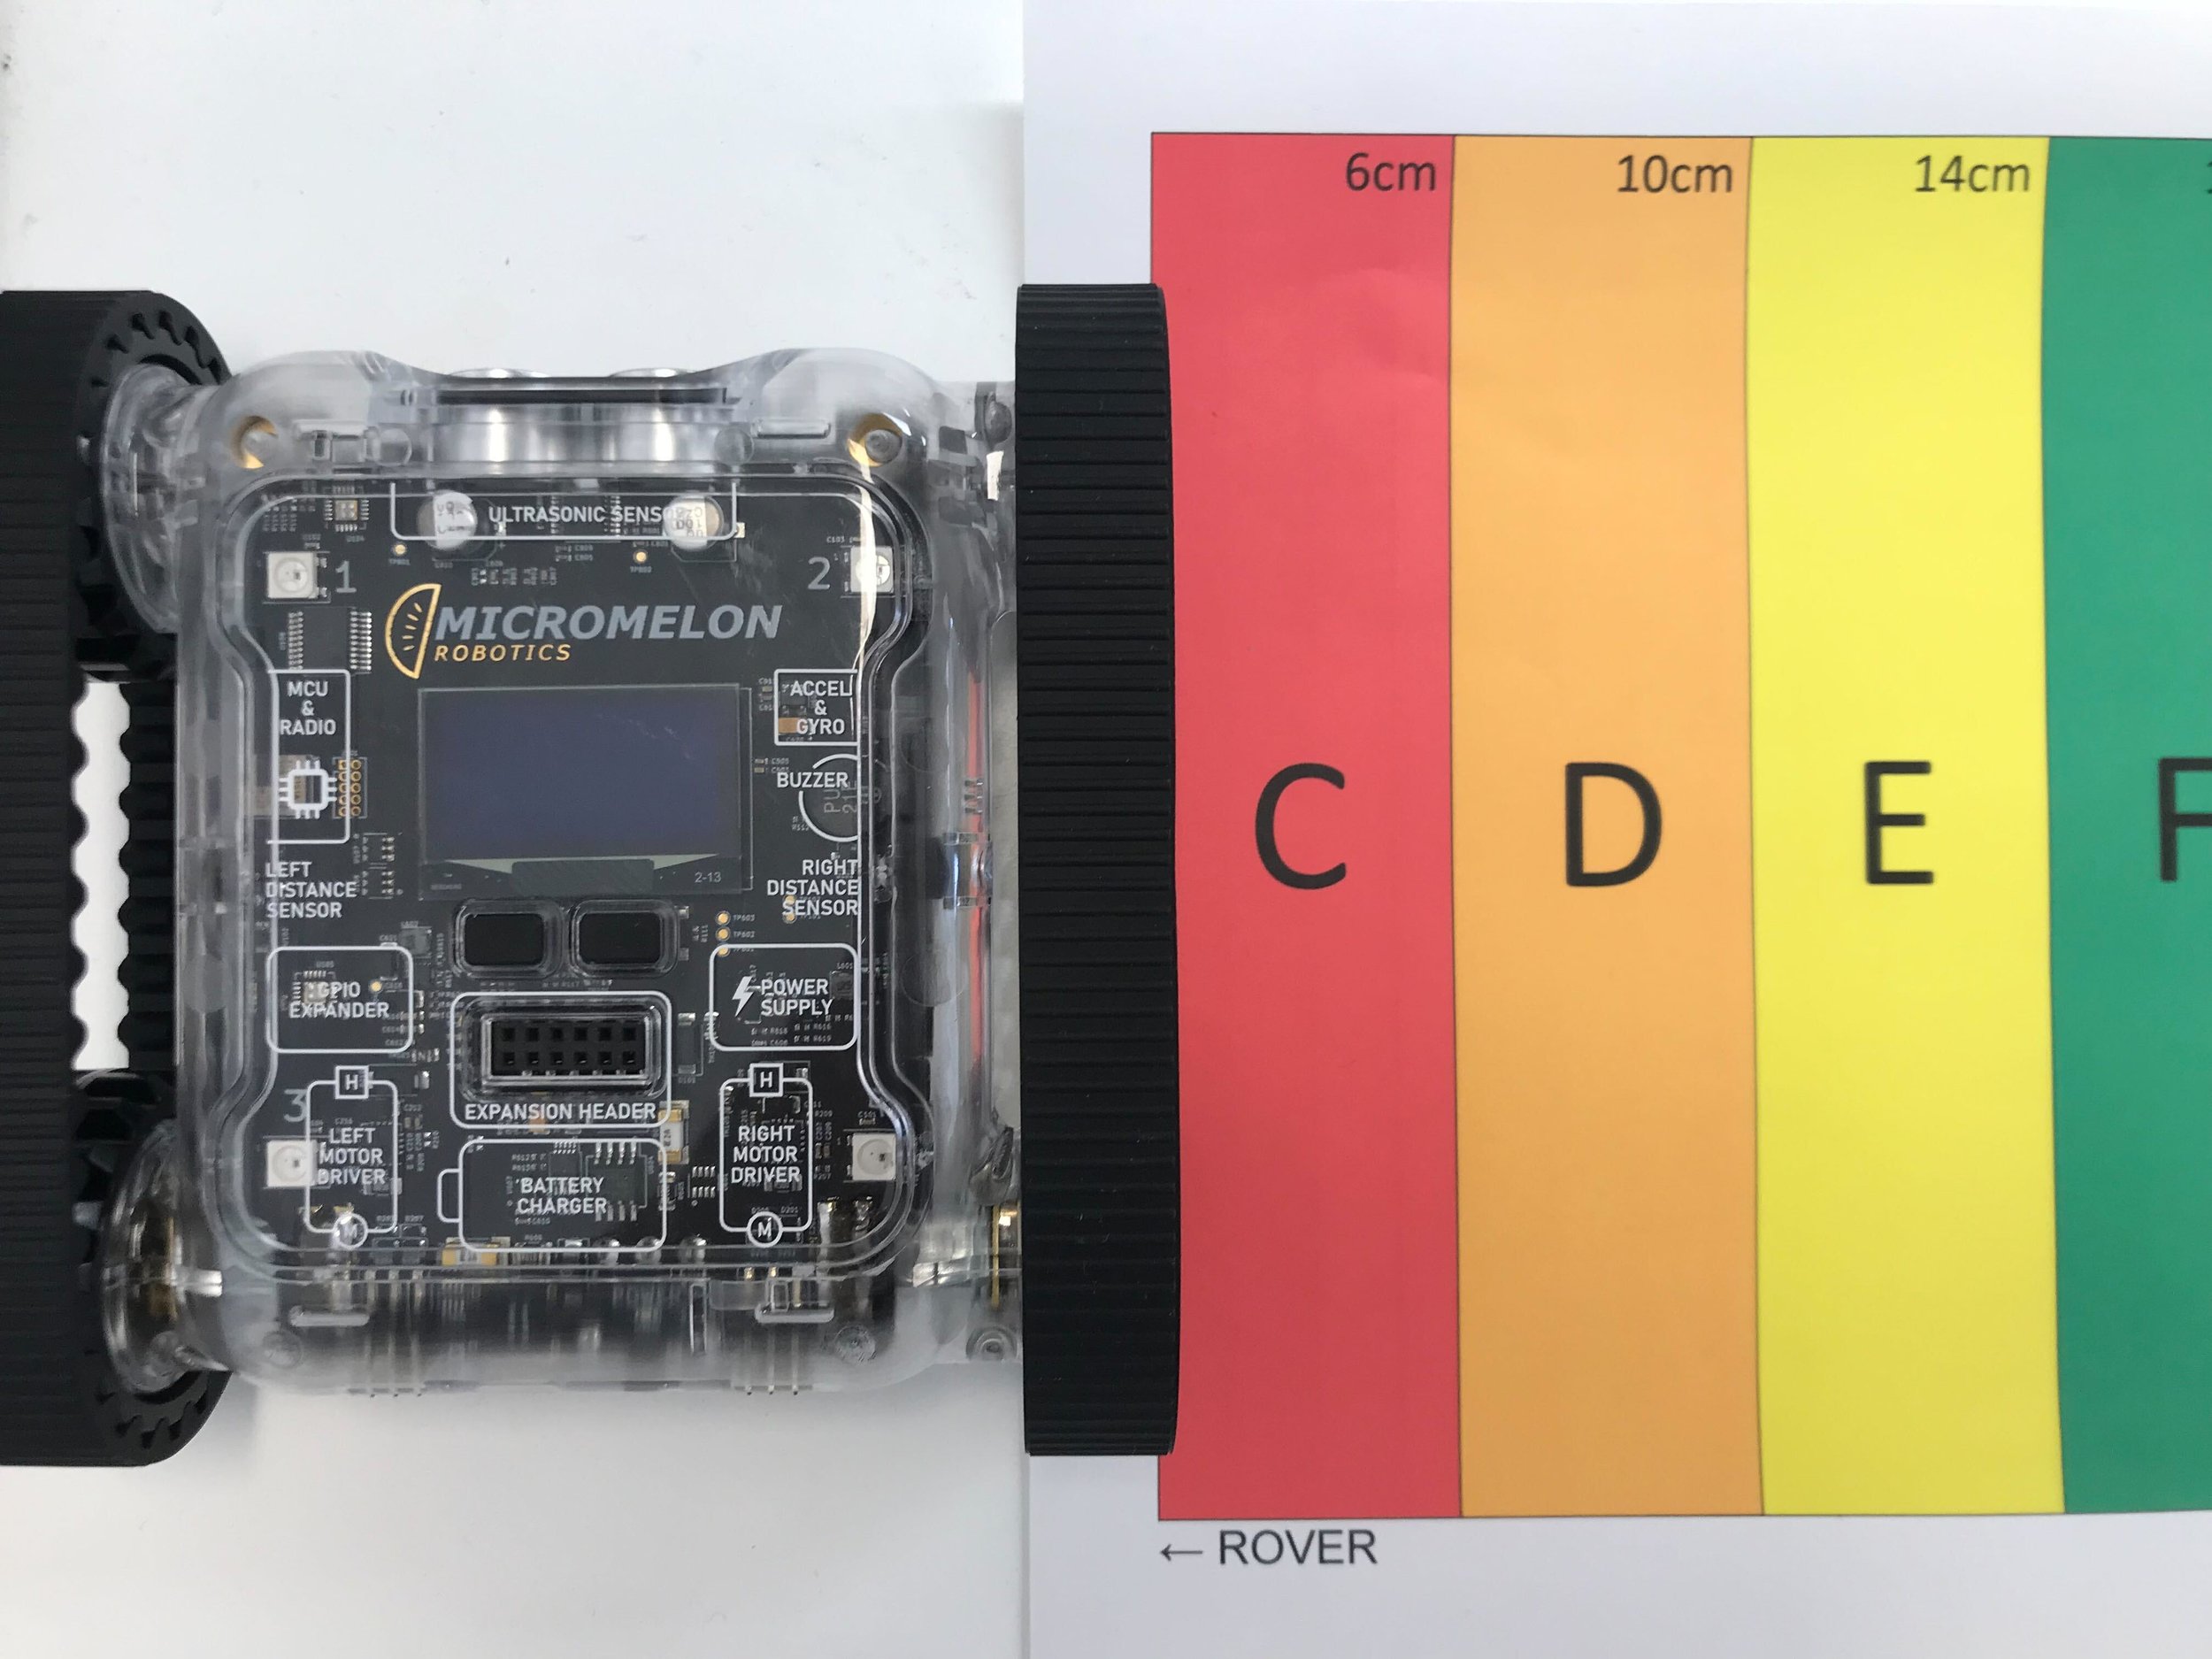
Rover positioned on the printed note scale
Code
1. Volume Control
Volume control, covering the left IR sensor
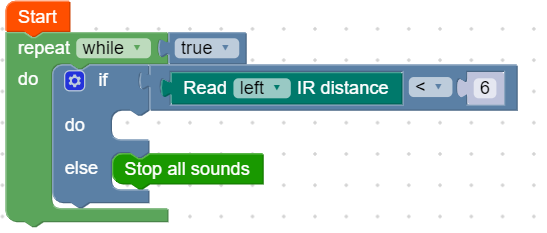
First, code in the volume control. If the left IR is uncovered, all sounds must stop. If it’s covered, the Rover continues playing notes.
If the left IR distance reads less than 6 cm, the code continues; otherwise all sounds stop.
2. Pitch Control
Add a large IF / ELSE IF chain inside the volume control to handle pitch. The IF chain checks through each distance on the note scale to see which note is being triggered. The code plays the correct note depending on how far your hand is from the right IR sensor.
Tips:
- Try making your own note scale and change the code to suit it. Maybe add two octaves of notes on your page.
- Once you’ve got the hang of it, grab a friend and see if you can play a duet with two Rovers.