Introduction
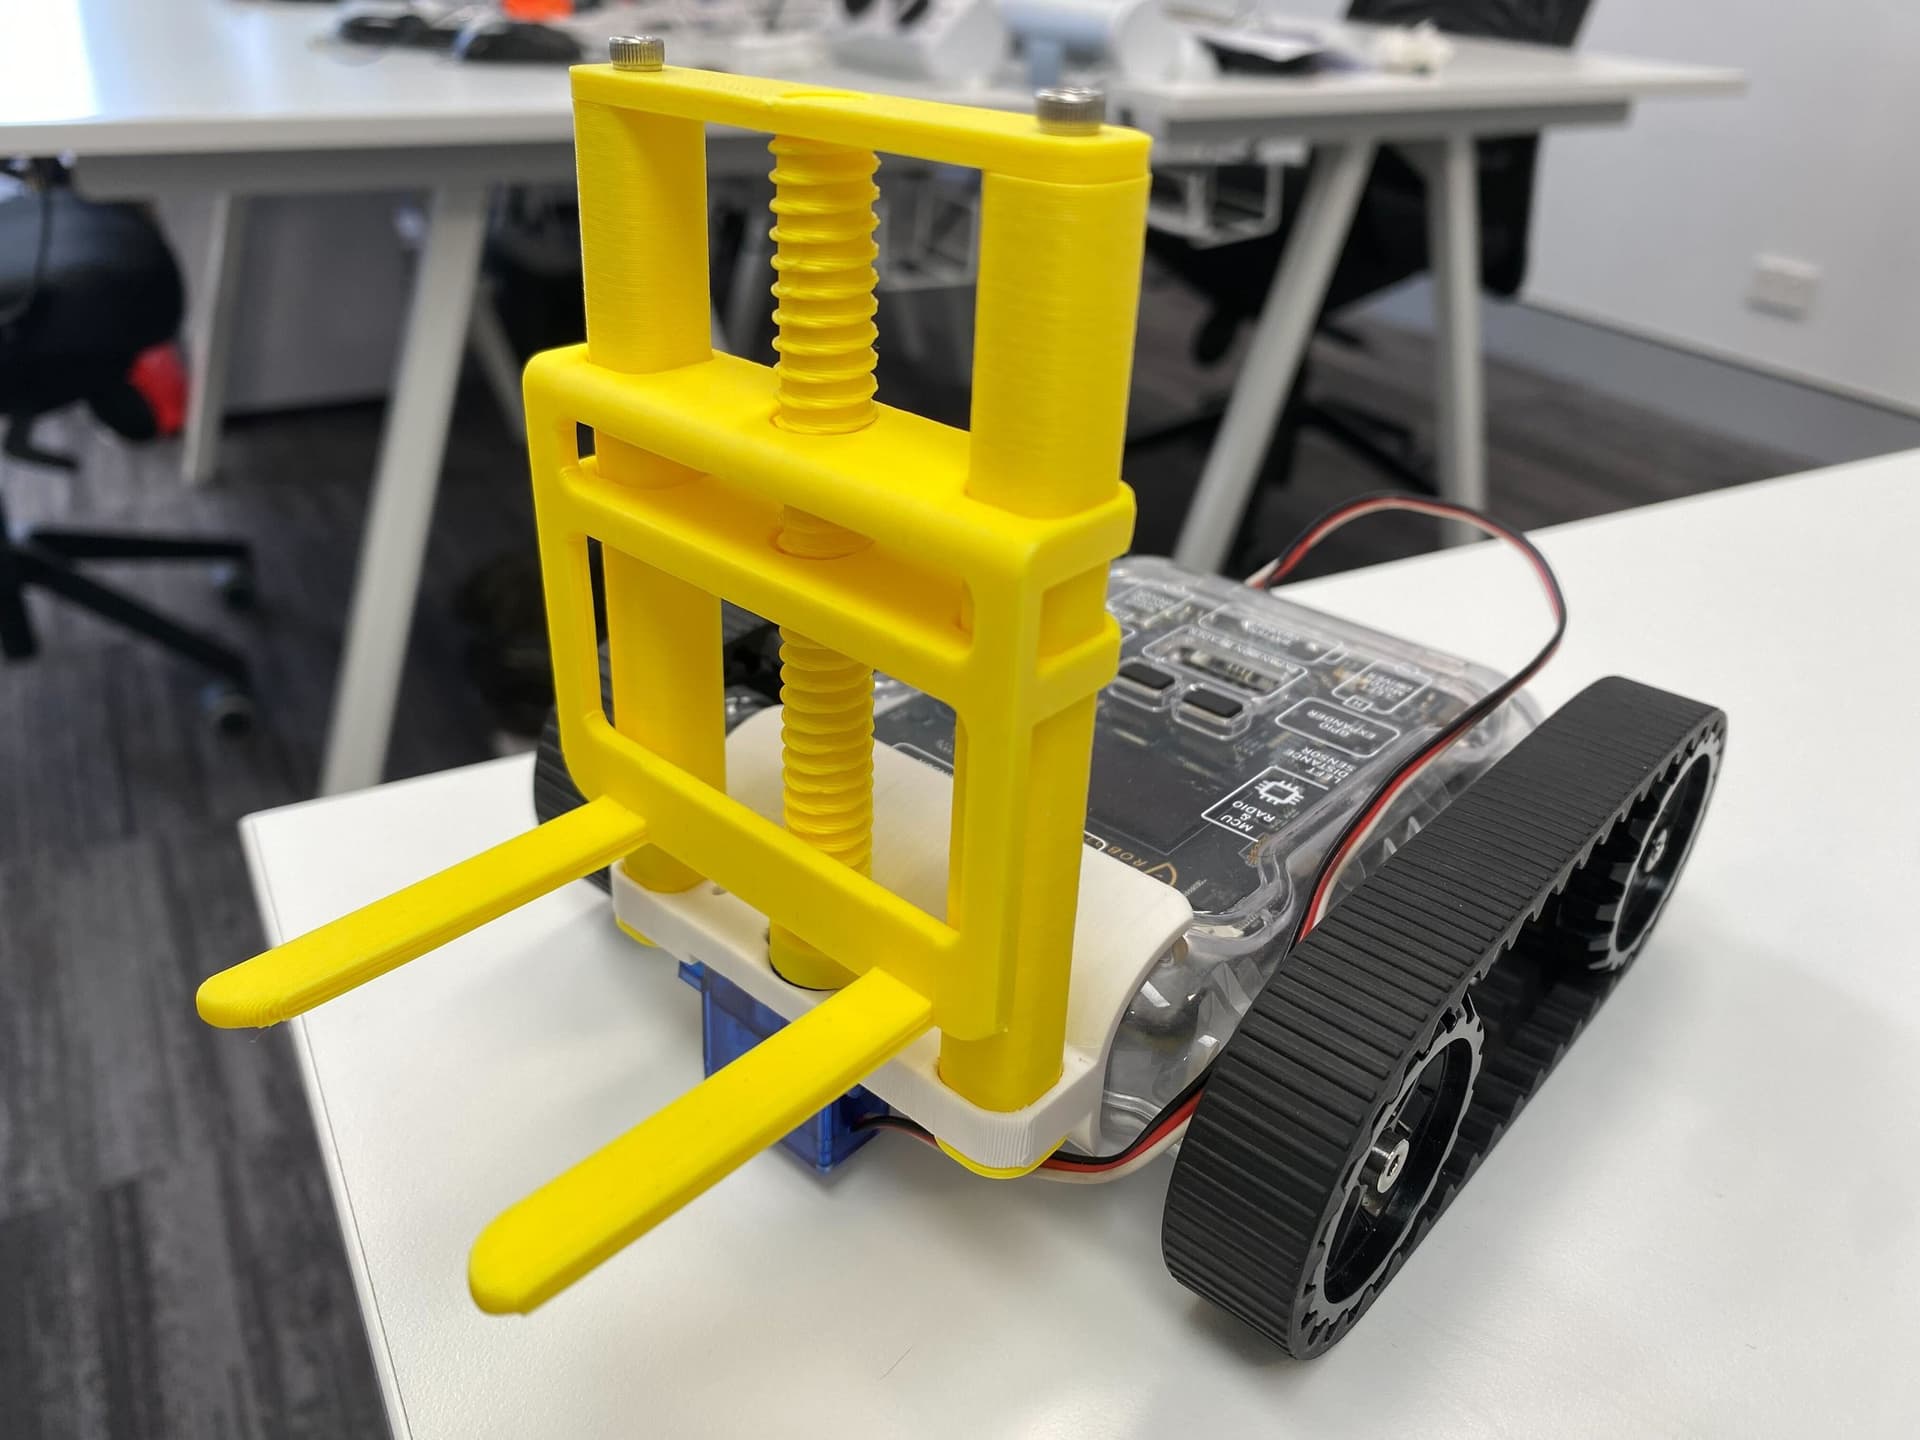
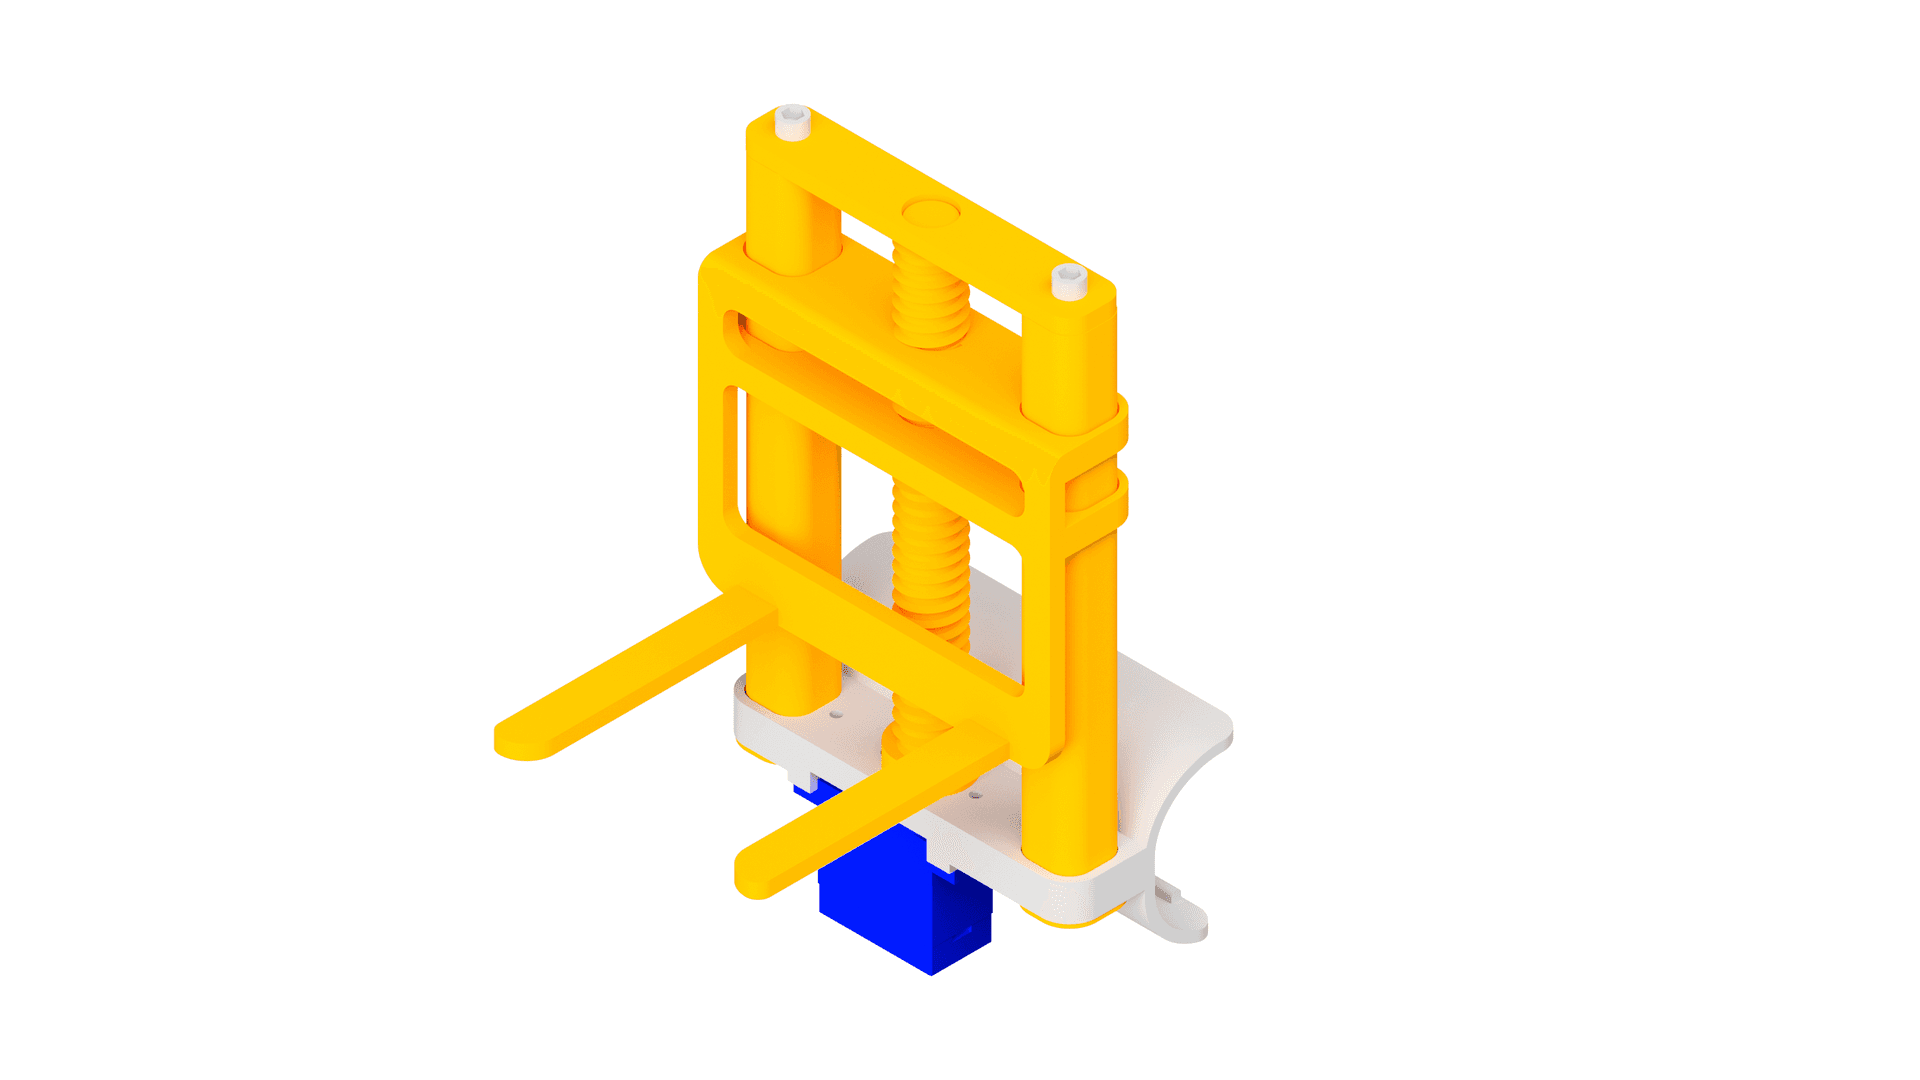
The forklift attachment lets your Rover lift and carry objects using a screw-driven fork mechanism. It clips onto the front of the Rover via the bolt clip adapter and is powered by a continuous servo motor. Note that the fork and screw come in different speed grades, and slower speeds are stronger. Make sure to print a fork and screw of the same speed, as mismatched speeds will not work together.
AccessoryMelonCubeA small cube for the forklift to pick up. Print one to use with the forklift activity.


What You'll Need
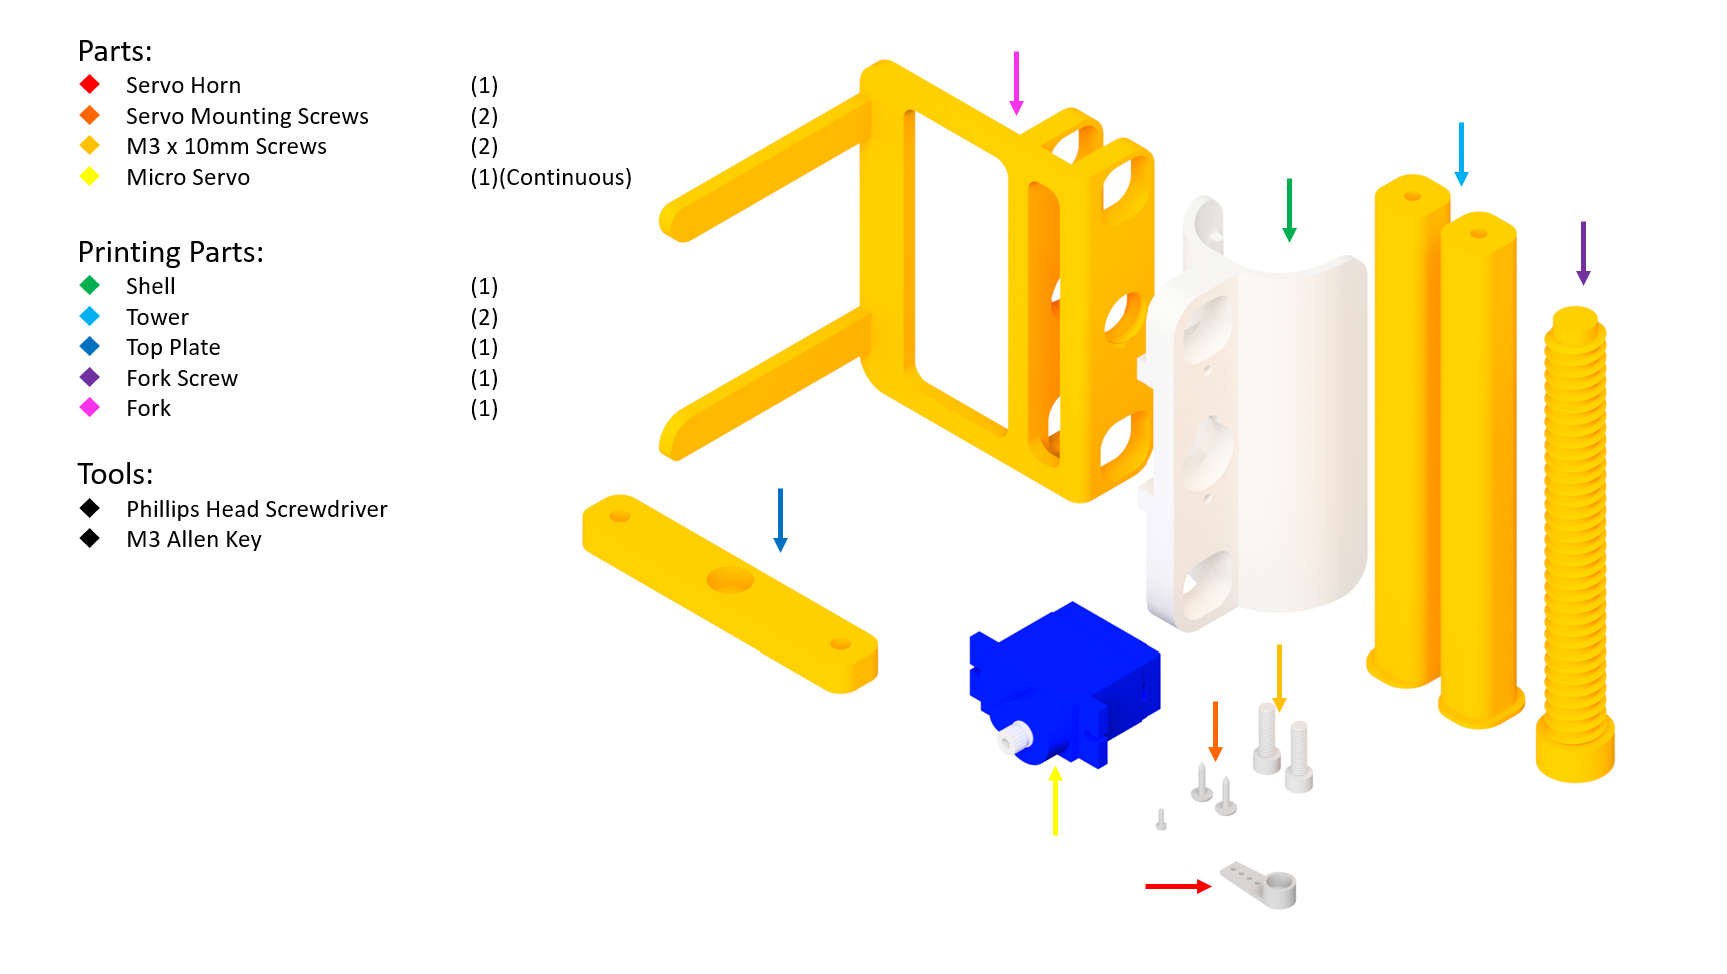
Parts:
- 1x Servo Horn
- 2x Servo Mounting Screws
- 2x M3 x 10mm Screws
- 1x Micro Servo (Continuous)
Tools:
- Phillips Head Screwdriver
- M3 Allen Key
13D Print Your Parts
- 1x Shell
- 2x Tower
- 1x Top Plate
- 1x Fork Screw
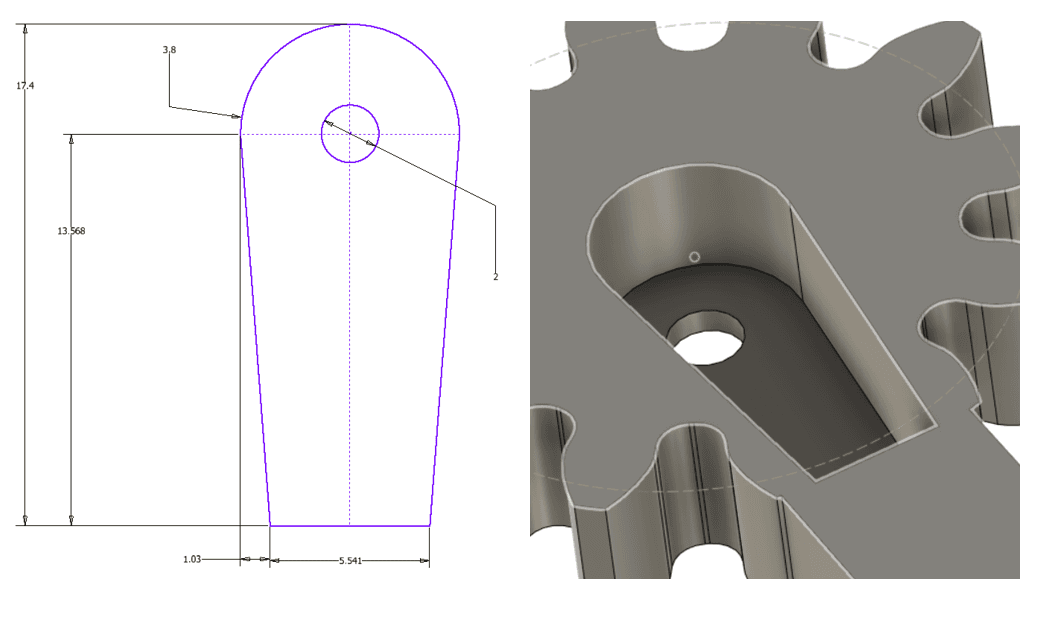
- 1x Fork
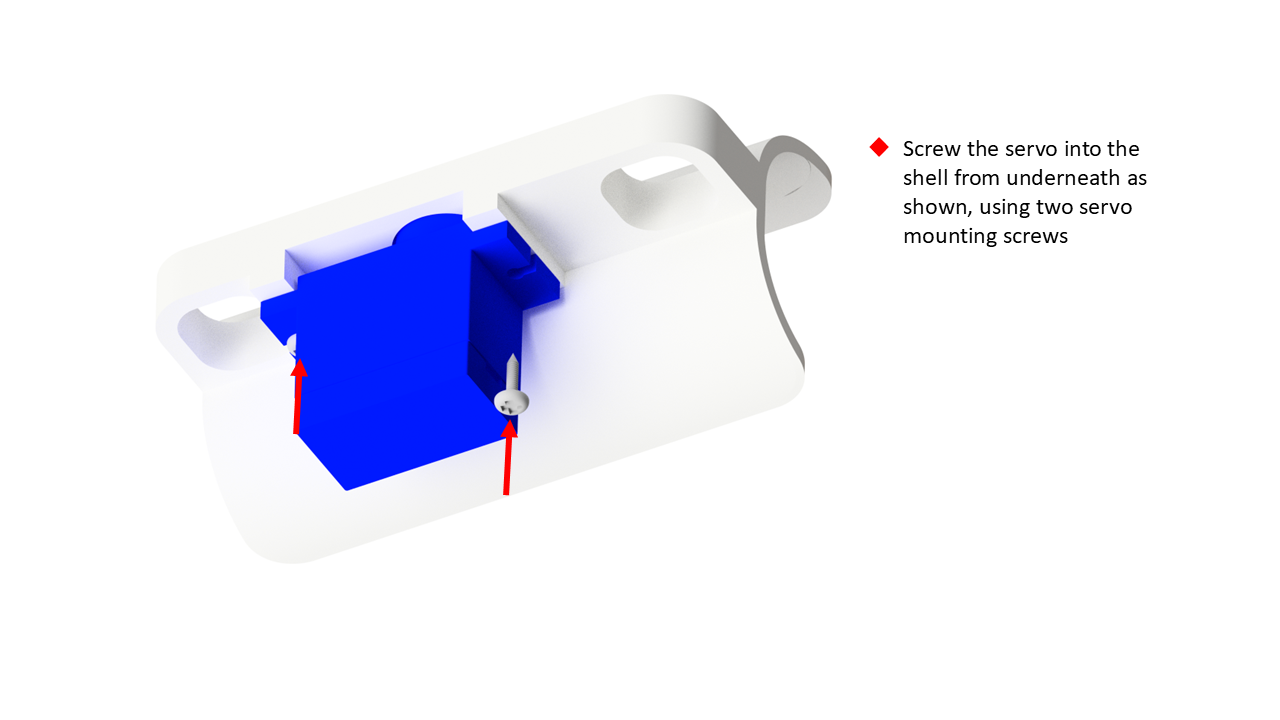
2Install the Servo
- Screw the servo into the shell from underneath as shown, using two servo mounting screws.
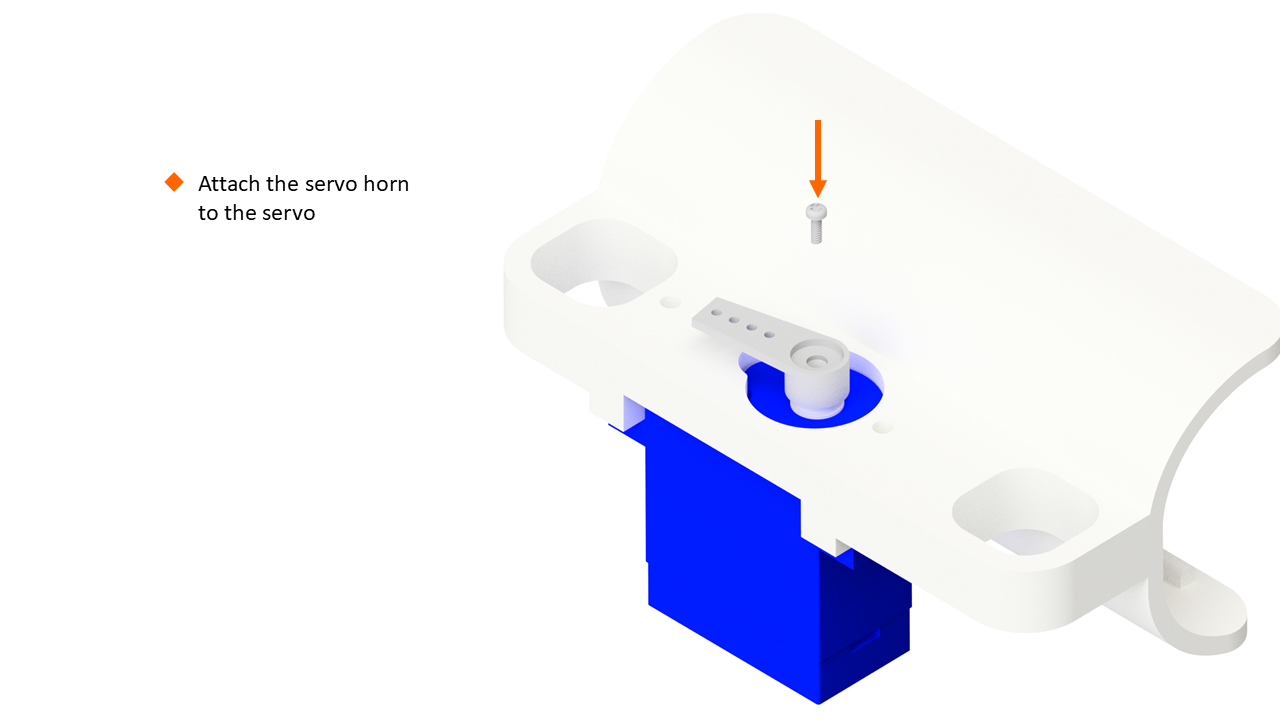
3Attach the Servo Horn
- Attach the servo horn to the servo.
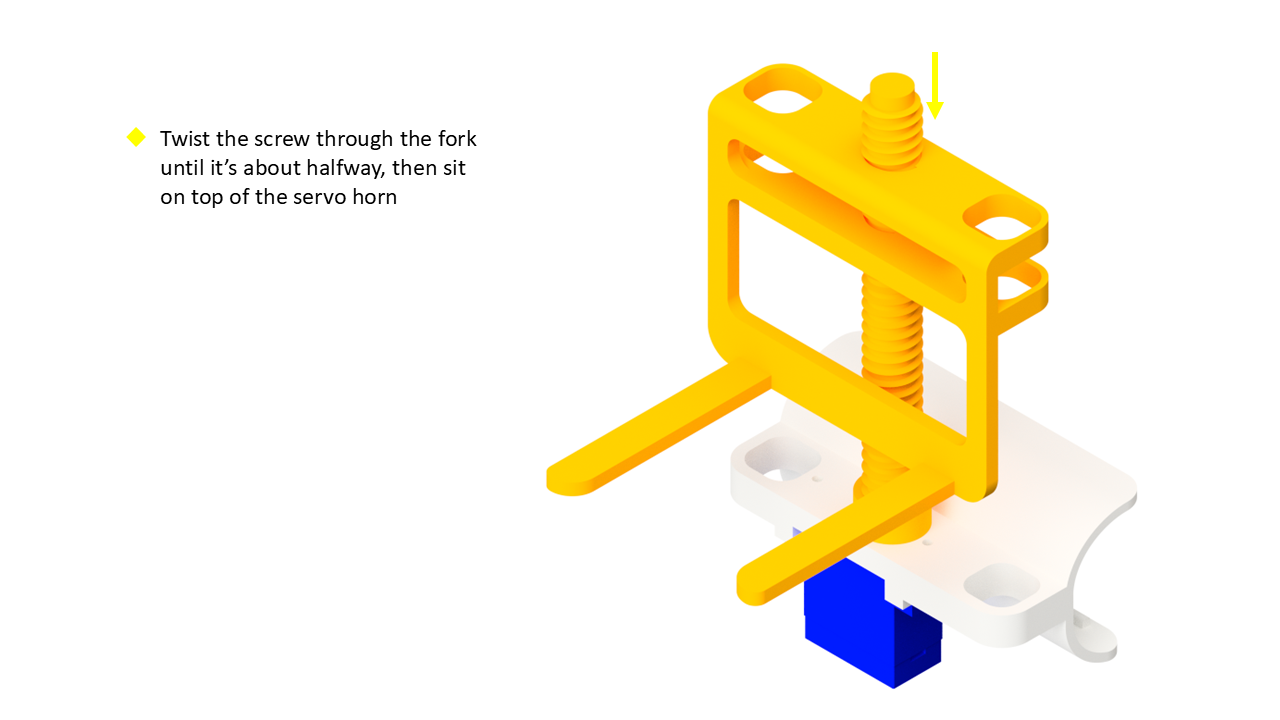
4Attach the Fork
- Twist the screw through the fork until it's about halfway, then sit it on top of the servo horn.
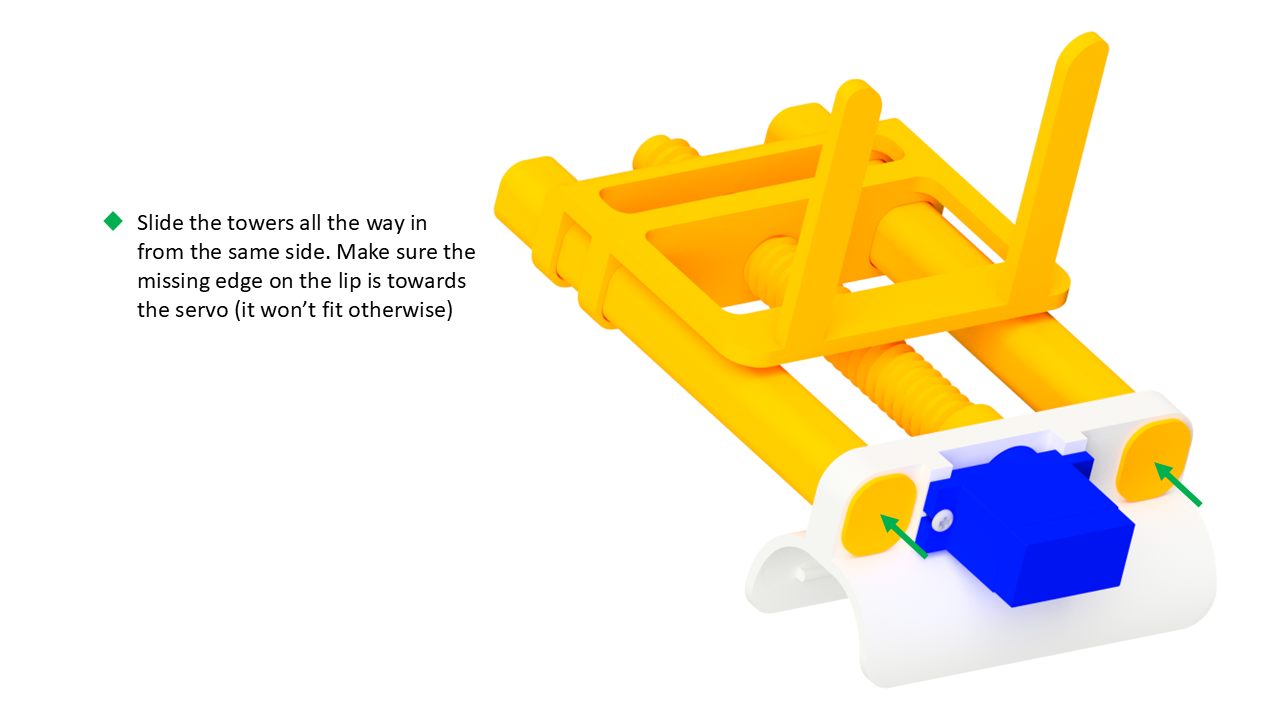
5Slide in the Towers
- Slide the towers all the way in from the same side.
- Make sure the missing edge on the tip is towards the servo (it won't fit otherwise).
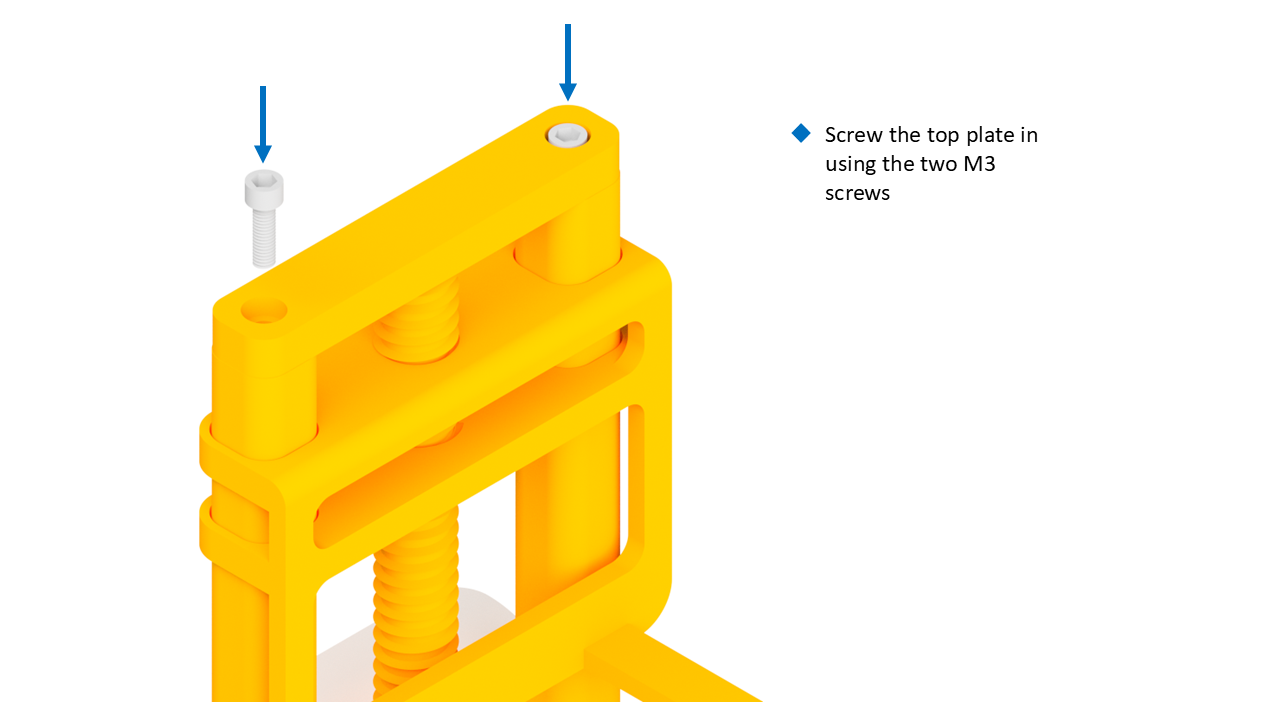
6Attach the Top Plate
- Screw the top plate in using the two M3 screws.
You're Done!
Your forklift attachment is fully assembled and ready to clip onto your Micromelon Rover. Try picking up lightweight objects like the MelonCube. You can program the servo to raise and lower the fork using the Code Editor.