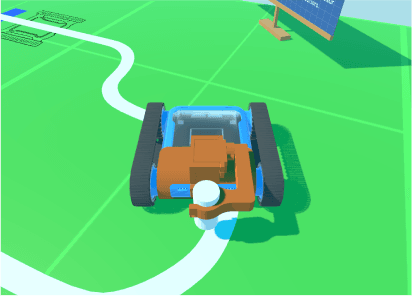
Using the pen attachment, try your hand at using code to create art. You’ll need to program your Rover to move with pen-point precision to ensure your artwork is accurate.
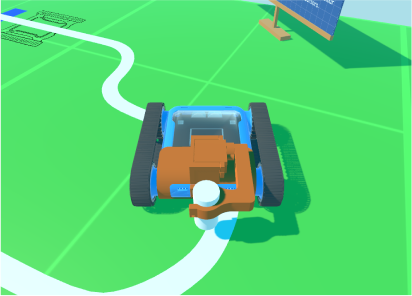
Rover with the pen attachment
Drawing Ideas
Not sure what to draw? Try one of these.
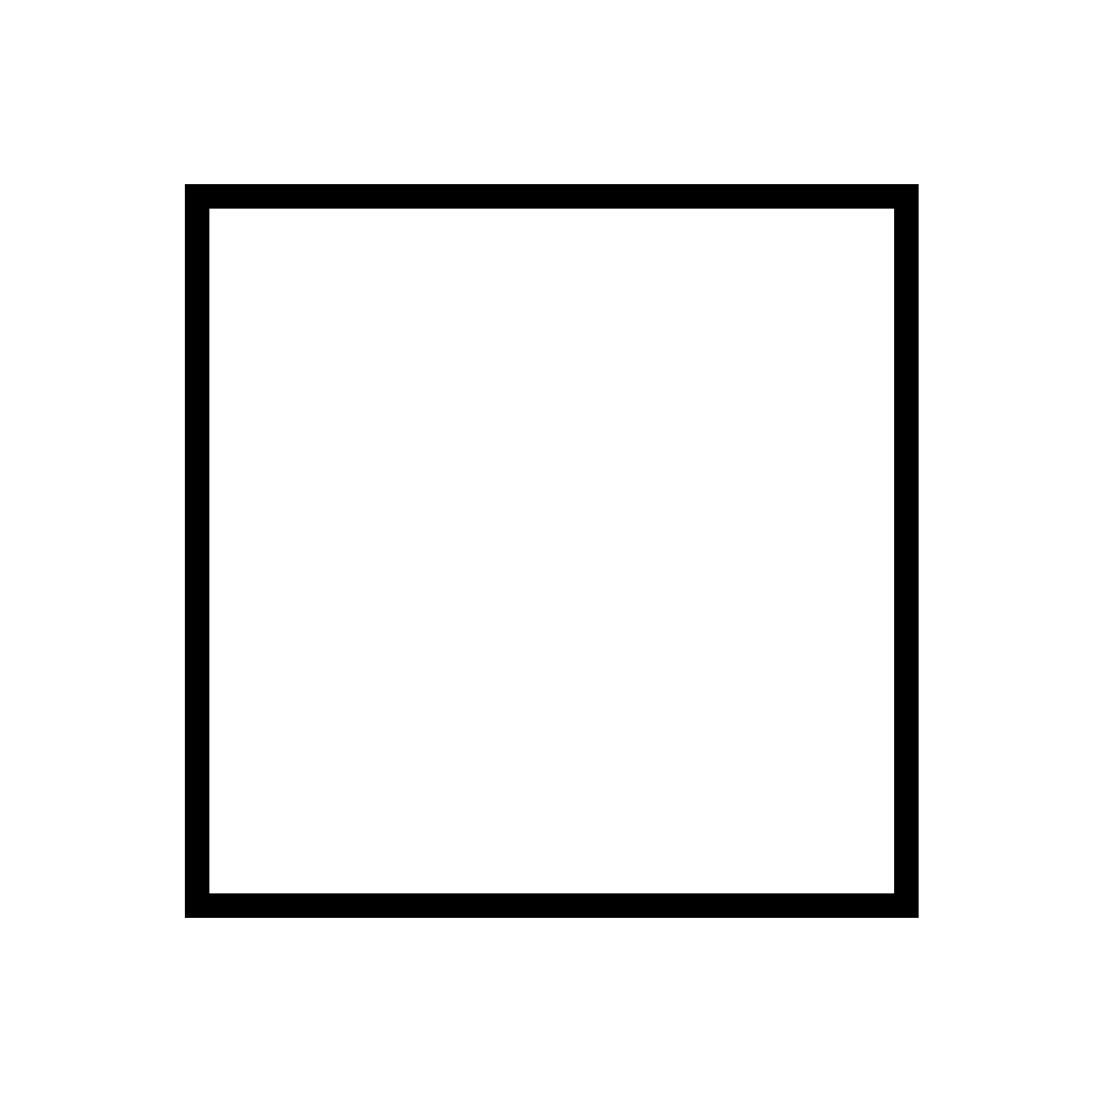
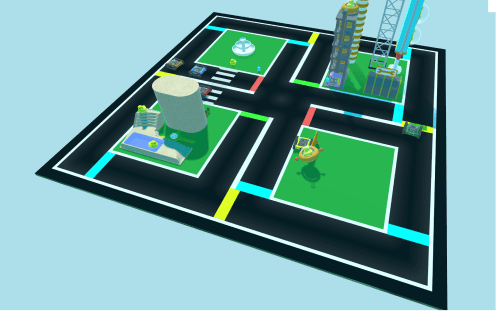
Square
Setup
Download and Print Your Own Pen Attachment
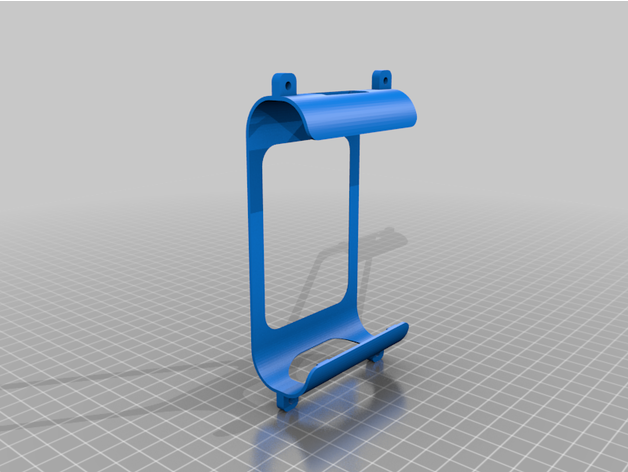
3D-printed pen attachment
You can 3D print a pen attachment and fit it to your Micromelon Rover. Find the 3D files for the pen attachment and many other attachments on the Micromelon Thingiverse page.
Use the Pen Attachment in the Simulator
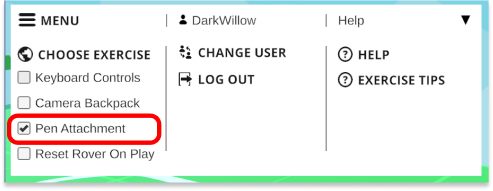
Toggling the pen attachment in the Simulator
The Micromelon Robot Simulator comes with a range of simulated Rover attachments. You can toggle the simulator Rover’s attachment from the in-activity menu in the top left.
How to Program the Pen Attachment
Once you’ve added the pen attachment, you can control whether the pen point makes contact with the ground by raising or lowering it with servo blocks.
Lowering the Pen
To lower the pen, set the servo motor connected to the attachment to −90°: this moves the arm down. If the pen doesn’t make contact with the ground, adjust the pen in the holder so it does.
Raising the Pen
To stop drawing, set the servo to 0°: this moves the arm up.
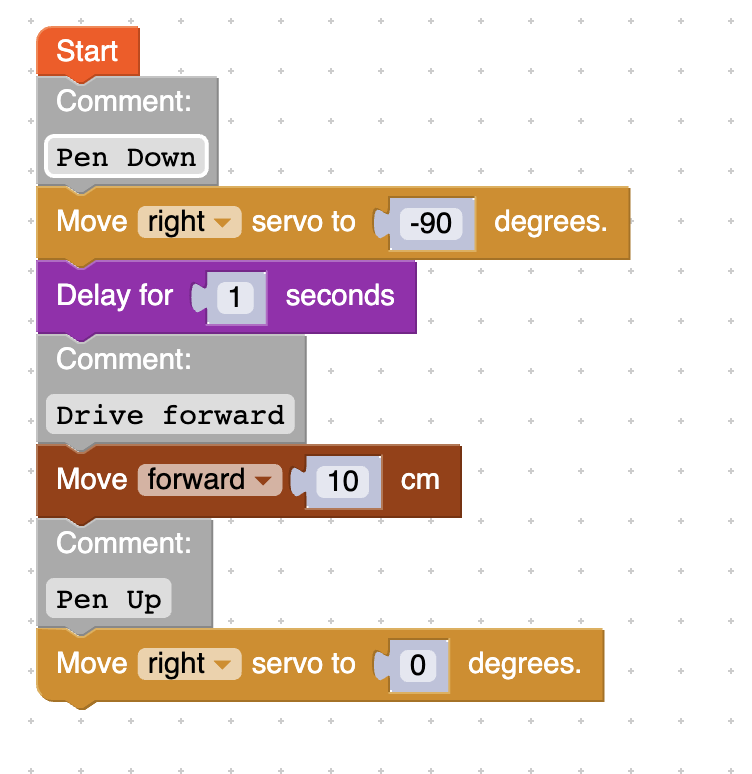
Example code, controlling the pen attachment
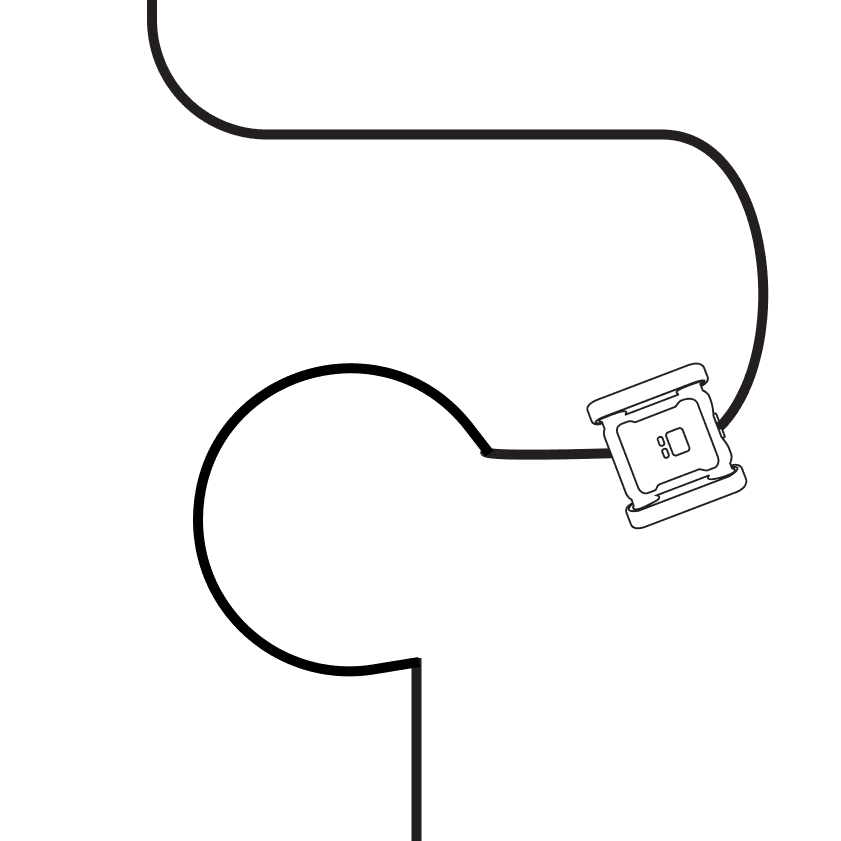
Once you’ve got the basics down, try more complex shapes, spirals, stars, or even simple drawings like the duck above. You can also combine straight lines and turns to create repeating patterns using loops.