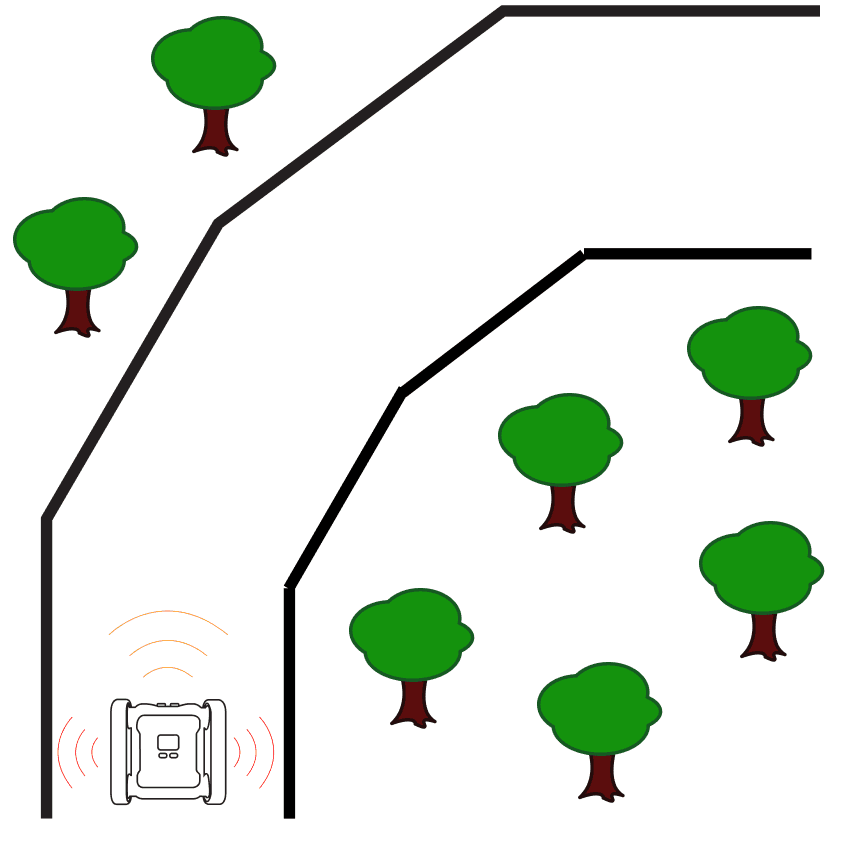
There are two infrared (IR) distance sensors located on the Rover, one on either side.
What Do They Do
The IR sensors give data on the distance between the Rover and the object the sensor is facing. There’s a sensor on each side of the Rover so you can detect any obstacles (like walls) near the Rover’s sides.
The IR sensors work differently from the front ultrasonic distance sensor. If you’re curious about how the ultrasonic sensor works, read the dedicated post.

What is IR?
Before we jump into how the IR sensors work, let’s look at what IR actually is. IR stands for infrared: a type of light. Human eyes can’t see infrared light. The light we see from the sun and light bulbs is called visible light. Visible light and infrared light are different types of light.
All types of light are made up of electromagnetic waves. The science behind electromagnetic waves and how we see them is complicated; for now all we need to know is that they exist and they’re all around us. Electromagnetic waves vary in length, similar to how there are big waves and small waves at the beach. The diagram below shows the entire range of electromagnetic wavelengths.

The electromagnetic spectrum, with the visible-light range highlighted
Visible light is electromagnetic waves with a length of 400–700 nm. Infrared light is electromagnetic waves with a length of 700 nm to 1 mm.
There are a bunch of different types of electromagnetic wave ranges, radio, ultraviolet, gamma rays, but the human eye can only perceive electromagnetic waves in the visible range. That doesn’t mean the others don’t exist, lots of cool technology uses electromagnetic waves from all over the spectrum.
Who Can See Infrared Light?
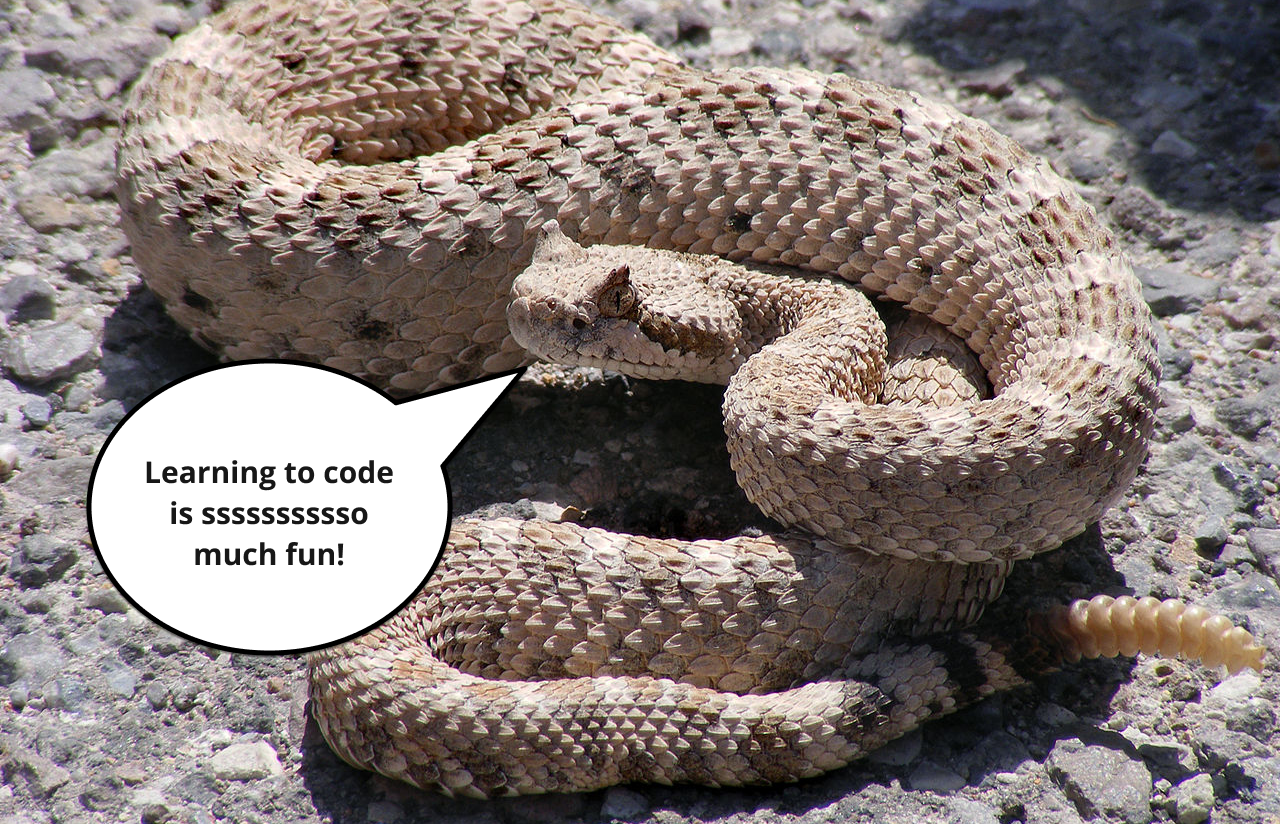
Howard the snake, uses pit organs to detect infrared light
Some snake species can detect infrared light, but they don’t use their eyes. They have small pits on their faces that are sensitive to infrared light, and they use this ability to hunt for prey. The infrared waves produced by the body heat of the snake’s prey are what the snake is able to detect.
Although we can’t see infrared with our eyes, just like snakes we can build devices to emit and detect it. That’s exactly what the IR sensors on the Rover do.
How Do the IR Sensors Work?
The IR sensors use a laser to detect how far away objects are. The Rover uses two IR lasers, here’s how they detect distance:
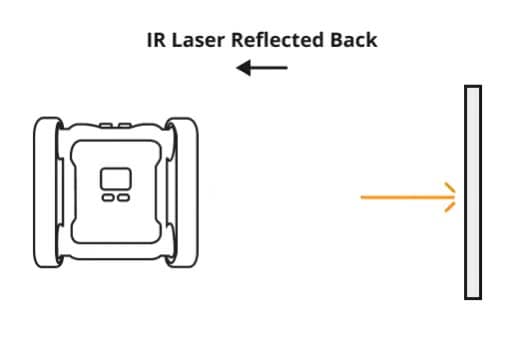
IR sensor emitting light, reflecting off an object, and being detected on its return
- The IR sensor emits an IR laser outwards.
- The light travels out and bounces off an object or surface.
- The reflected light travels back to the sensor.
- The sensor detects the returning light.
Based on how long it takes the light to reflect back, the sensor calculates how far away the object is using the speed of light.
Limitations and Common Problems
Range Is Limited to Roughly 1.25 m
The larger the distance the emitted IR laser has to travel, the less likely it is that the IR detector will detect the reflection. Increasing the range would require a more powerful laser. The Rover’s built-in IR sensors are designed to be efficient for small-scale activities, you can always add your own electronics to the Rover and equip more powerful sensors.
Programming the IR Sensors
Open the Code Editor, connect to a Micromelon Rover, and open Sensor View. Click the ROVER button next to your Rover’s name to open Sensor View. If you need a refresher on how to use the Rover and Code Editor, check out the getting started guide.
In the Sensor View dialog, the IR sensor values are on the sides of the Rover diagram. The left IR value is on the left side, the right value on the right. The CM next to the values indicates centimetres. To make sure your sensor works, point the IR sensors at different objects and measure how far away they are.
What Does 255 cm Mean?
255 is returned when an IR sensor is unable to determine an accurate value. If you’re seeing 255, you may be trying to detect objects further away than 1 m.
Opening Sensor View in the Code Editor
Using the IR Sensors in Code
Let’s write a simple program to print the left IR sensor value every second for 10 seconds.
- Add a Repeat 10 Times block.
- Inside the loop, add a Print statement (in the Utilities category).
- Place a Read IR Distance block inside the print statement (in the Sensors category. Python:
IR.readLeft()). - Add a Delay For 1 Second block so the loop waits 1 second between reads.
- Press Play.
When you run this, you’ll see the left IR distance value every second for 10 seconds.
Wrapping Up
Now that you’re familiar with the IR distance sensors, how they work, and how to program them, try one of the activities below.