Servo motors are a type of direct current (DC) motor, a very common motor you can find in electronics around your home. Servo motors are good at making precise movements because they contain a built-in controller that ensures the output speed is reliable. The driving motors on the sides of the Rover are freely spinning DC motors. This post is a brief introduction to how servo motors work, the most common types, where to buy them, and how to use them with the Micromelon Rover.
What is a Servo Motor?
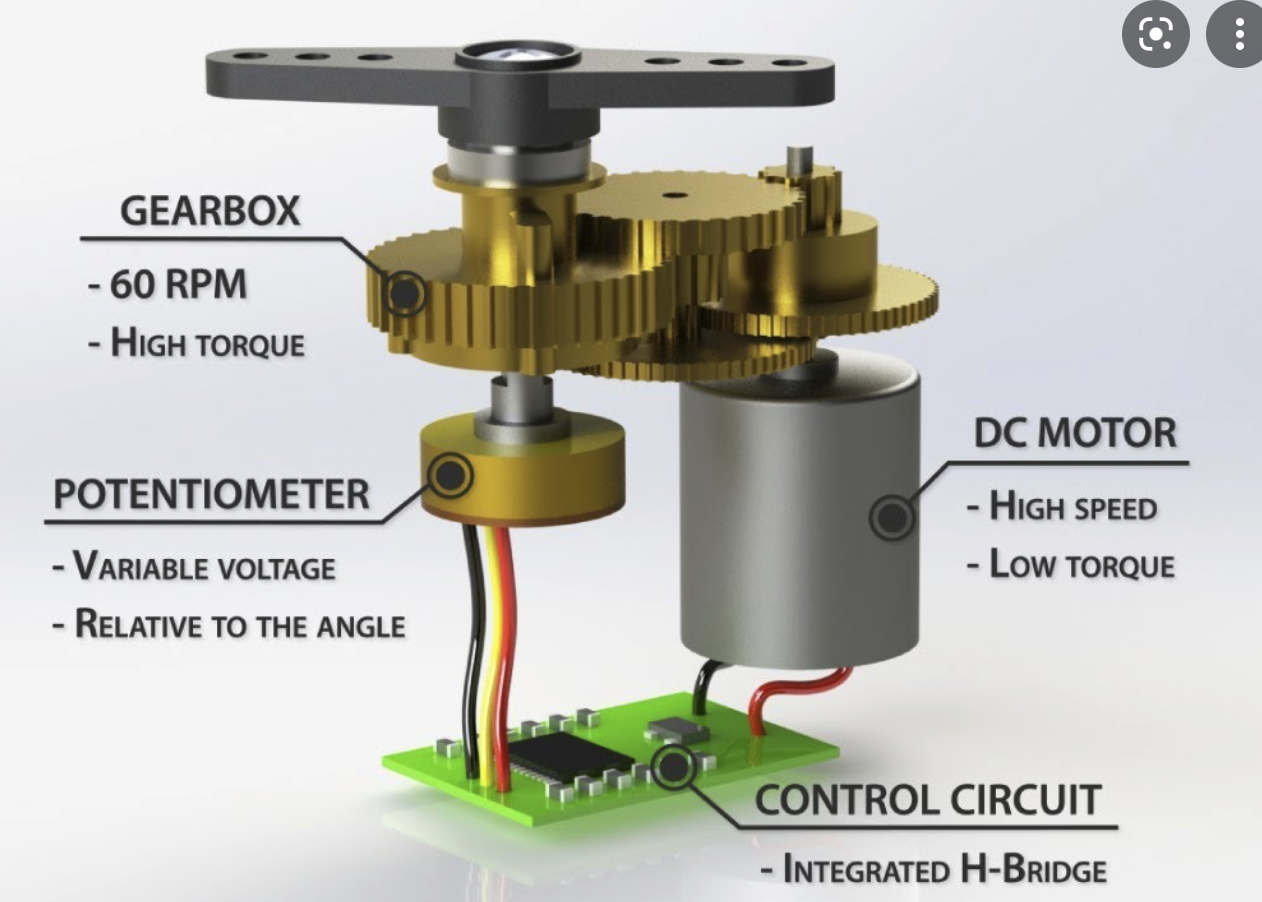
A servo motor uses a controller to set the exact position or speed it needs to stay at. A small control circuit takes an analog input and determines the motor’s position. These motors prioritise precision over speed and power, and are generally weak in terms of torque.
Positional rotation servo, the most common type
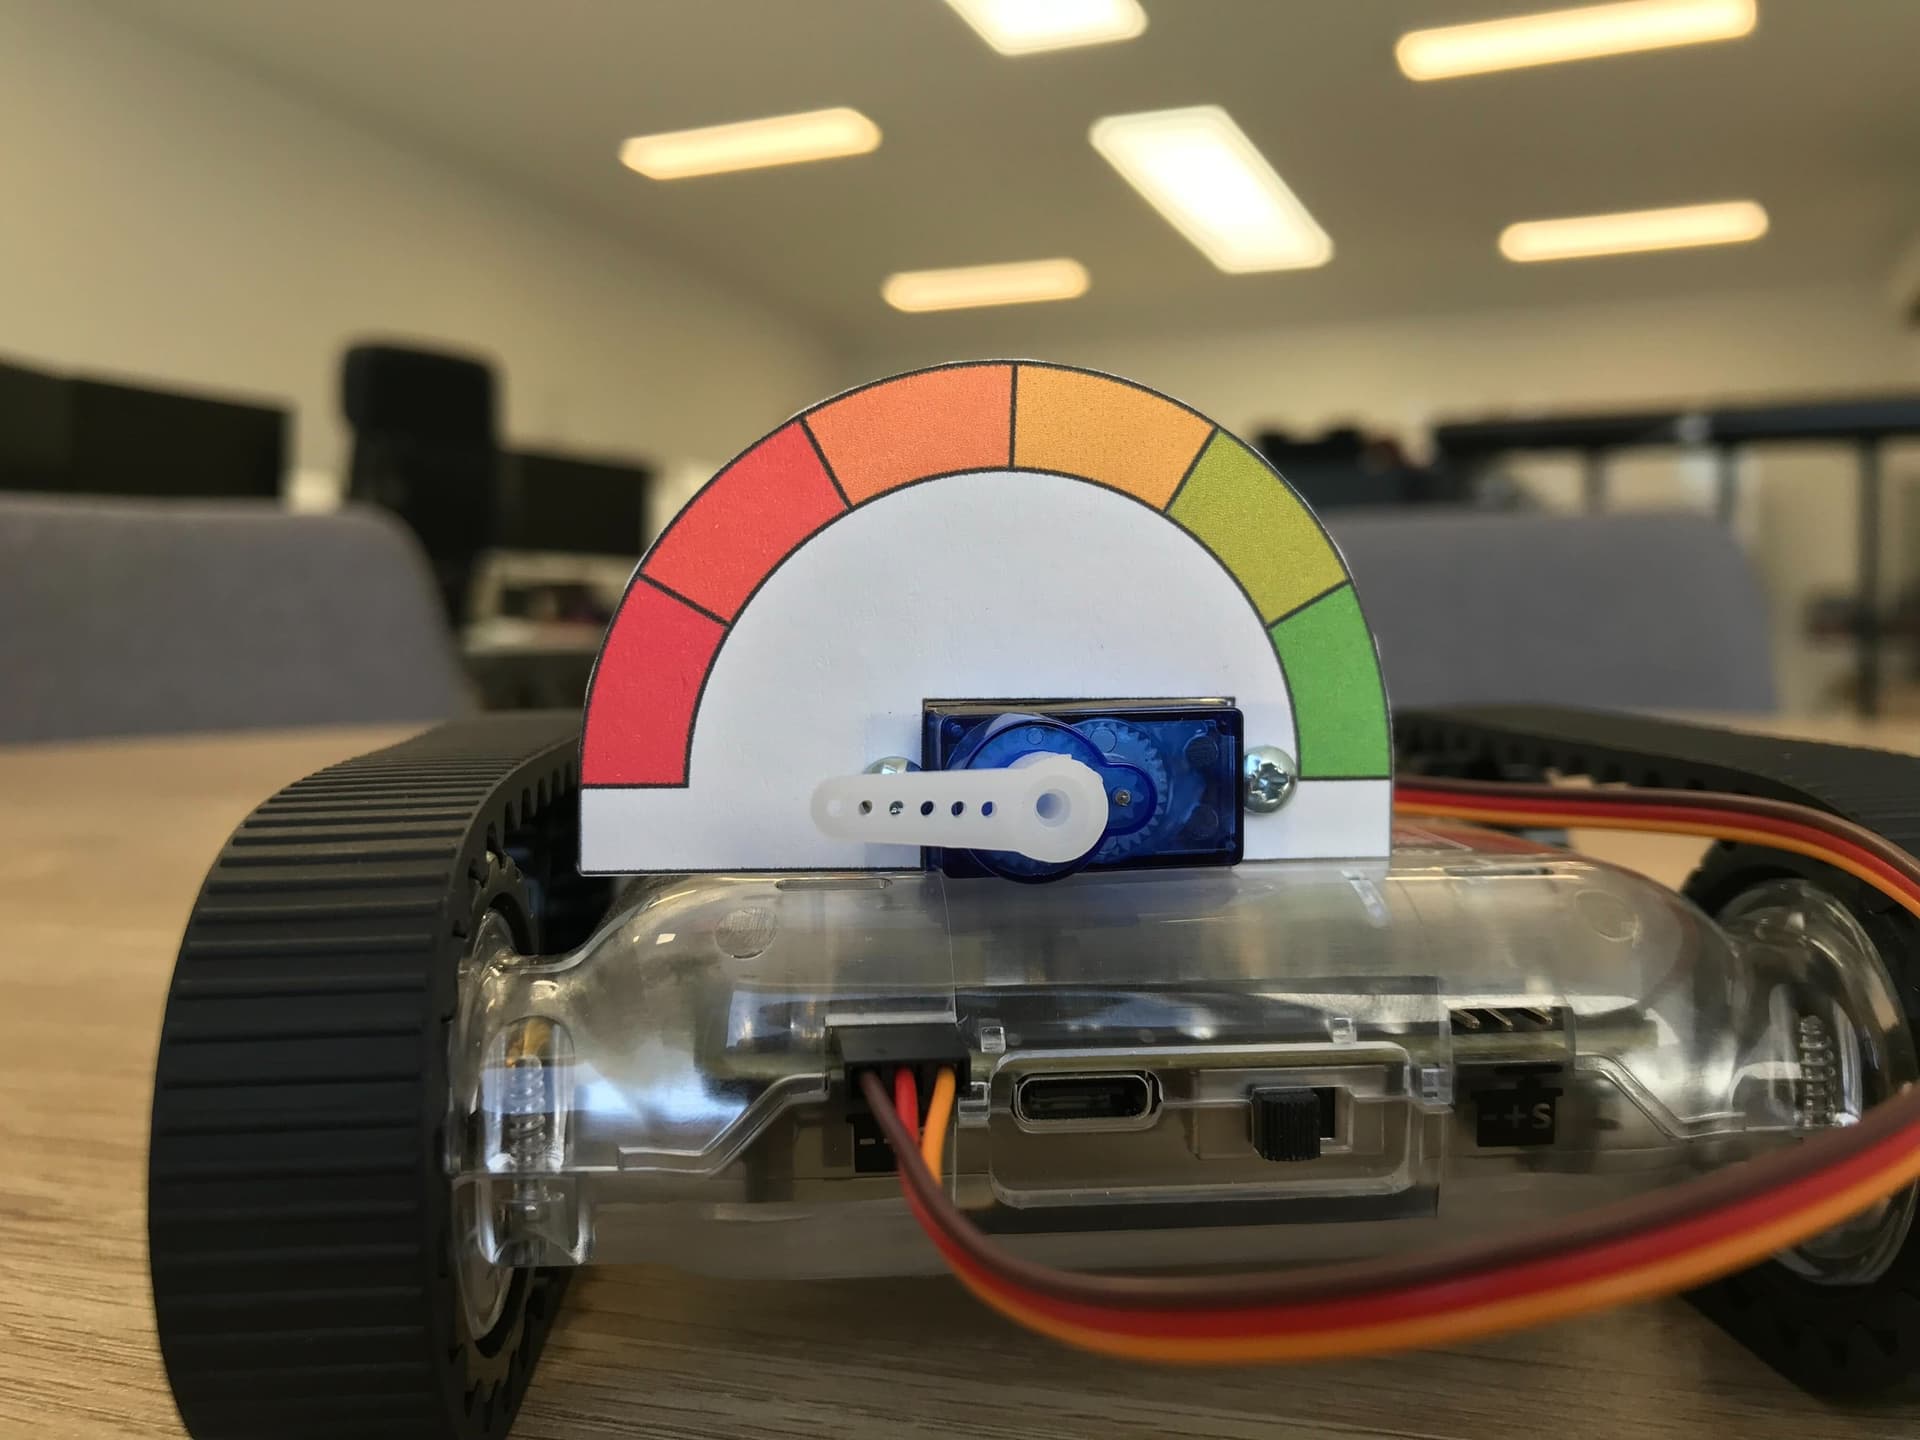
Servo motors are useful for robotic arms, DVD player trays, cameras, and other devices that need accurate or gentle movement. The kind shown above is a positional rotation servo motor, which is by far the most common type. You can set its rotation in degrees from -90 to 90, giving 180 degrees of total rotation.
The other type is a continuous rotation servo motor, which spins freely much like a regular DC motor.
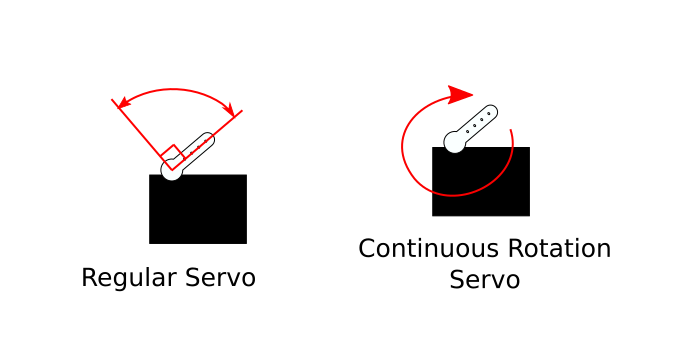
Continuous rotation servo motor
Setting the speed of a regular DC motor is challenging because you need extra components and circuits (called H-Bridges) to do so. A continuous rotation servo has all of this functionality built in, which is why it’s often preferred over a bare DC motor.
Buying Servo Motors
There are many places to buy servo motors. With electronic components, it’s always worth researching the supplier to make sure you’re getting decent quality. Suppliers worth looking at include Core Electronics, Jaycar, RobotGear, and Sparkfun. Some servos are stronger than others, metal-geared options last longer and are worth the extra cost where strength matters.
Make sure the motor you buy meets the Rover’s electrical specifications. The Rover servo connectors are 5V, which fits within the specifications for most hobby servo motors, and can provide around 1A of current per motor. The most common hobby servos we recommend are the MG90S 9g servo (180° rotation) and the larger MG996R 55g servo (120° rotation, more torque).
We’ve tested and used the following motors with our Rovers:
Core Electronics 9g Micro Servo (1.6 kg·cm)
A Note About Servo Ratings
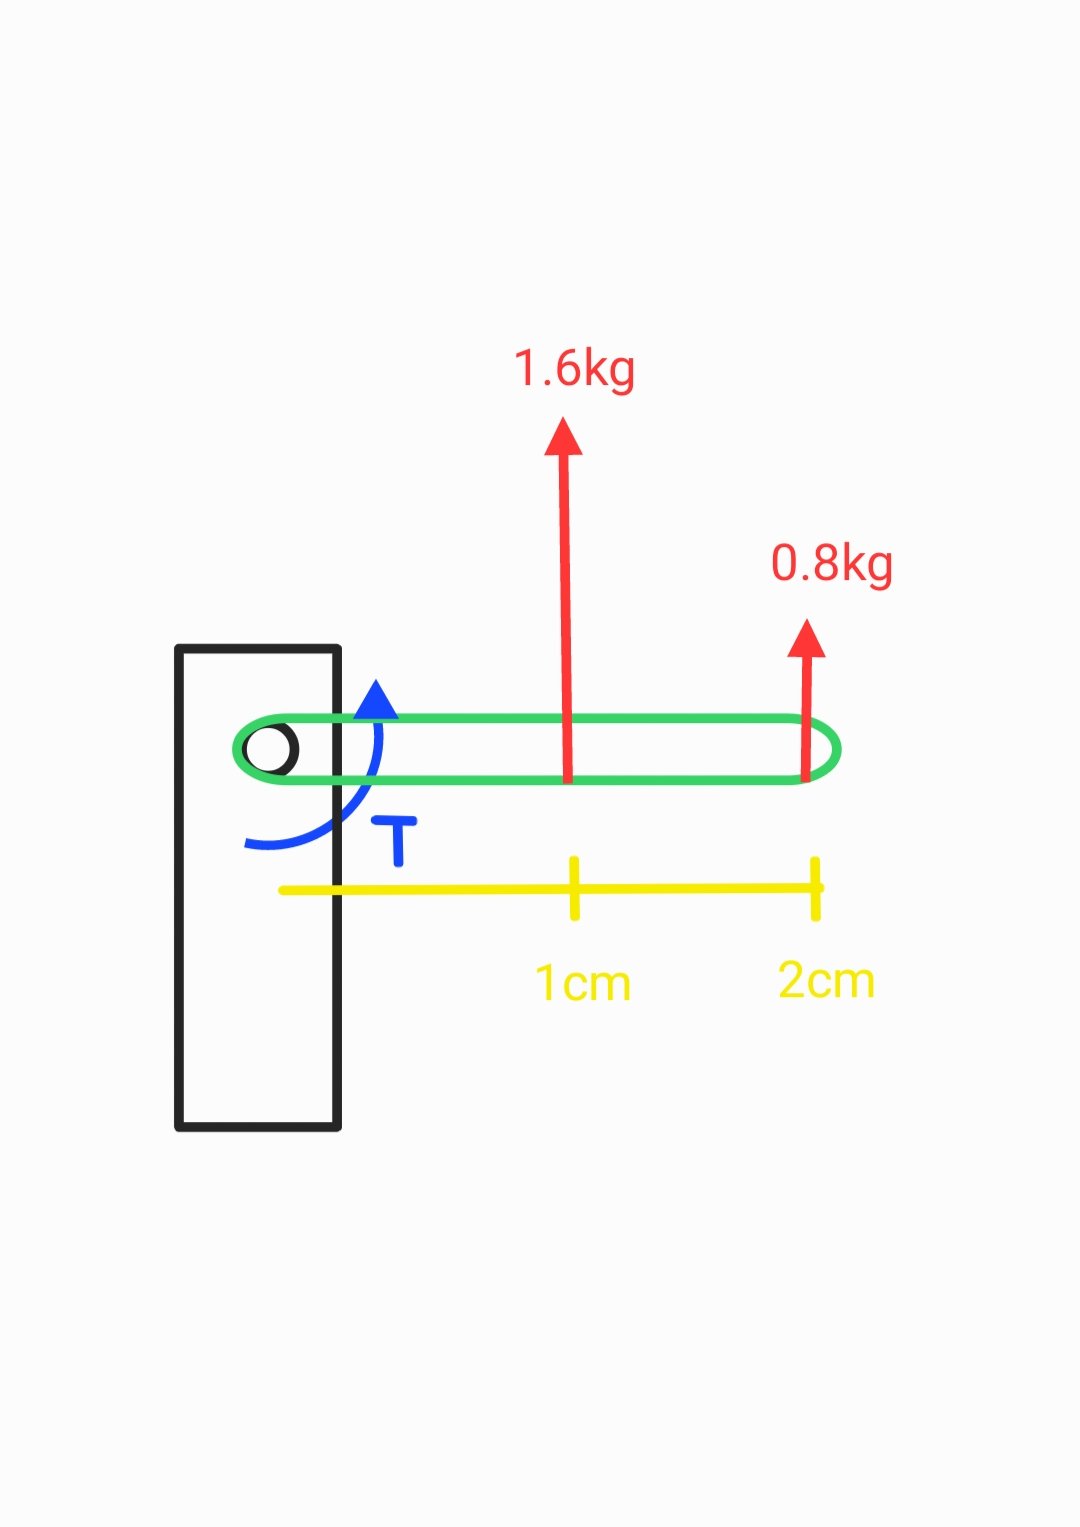
Typical 9g hobby servo with stall-torque rating
The servos we suggest for light-duty applications are called 9g servos: the motor itself weighs 9 grams. These typically give around 1.6 kg·cm of torque, meaning they can lift a 1.6 kg weight at a distance of 1 cm from the shaft. This relationship is inversely proportional, so as the distance from the motor doubles, the output force halves (e.g. at 2 cm the same motor can only lift 0.8 kg).
This figure is usually called stall torque: the point at which the motor physically can’t lift or move any more weight. Exceeding the rated torque drastically reduces the lifespan of your motors.
Connecting Servo Motors to the Rover
On the back of the Micromelon Rover there are two servo ports for plugging in motors. Servo motors must be plugged in the correct way around, the back of the Rover has an icon showing the orientation. On most motors:
- Red wire = power (+)
- Brown / black wire = ground (-)
- Yellow / orange wire = signal (S)
Using Servo Motors in the Code Editor
To use a servo motor in the Code Editor, open the Extension category in the block catalogue. You’ll find all the servo-related blocks here.
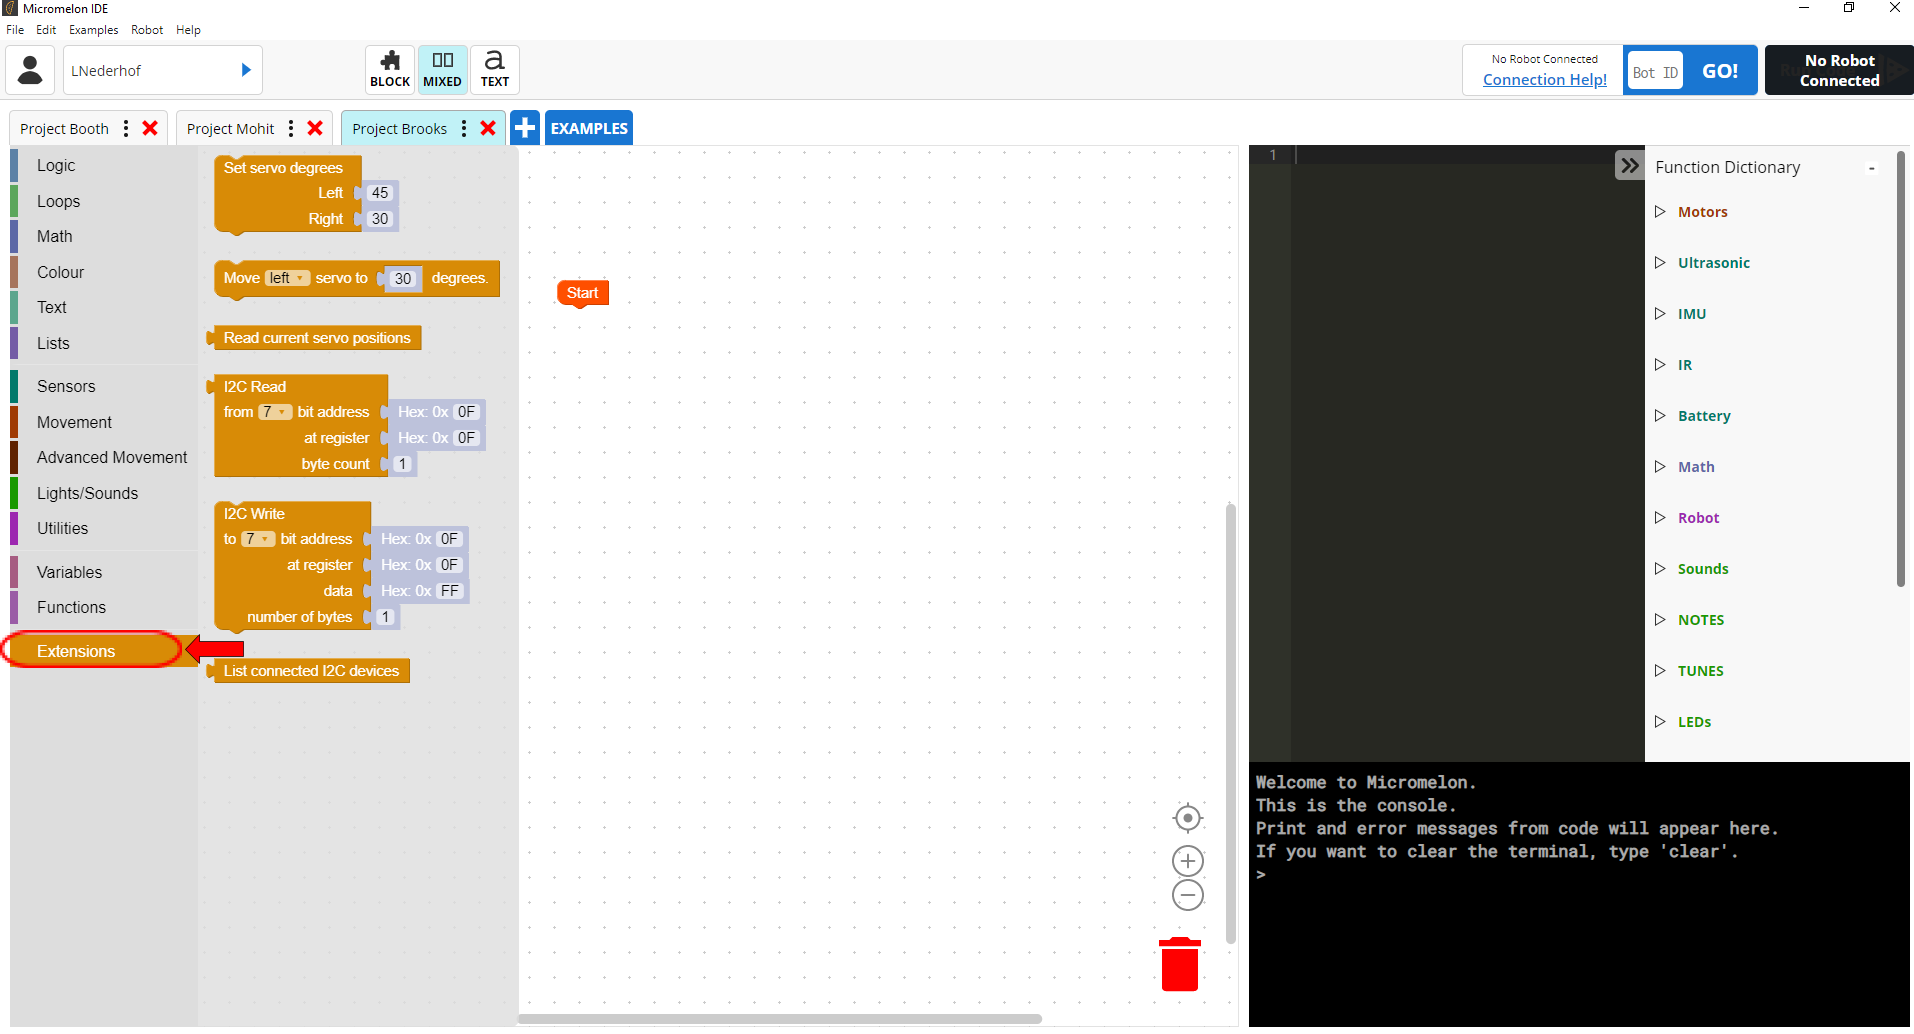
Servo blocks in the Extension category
These blocks let you set servo position in degrees. The exact angle for any given value depends on the specific servo you’re using, so test your motor first.
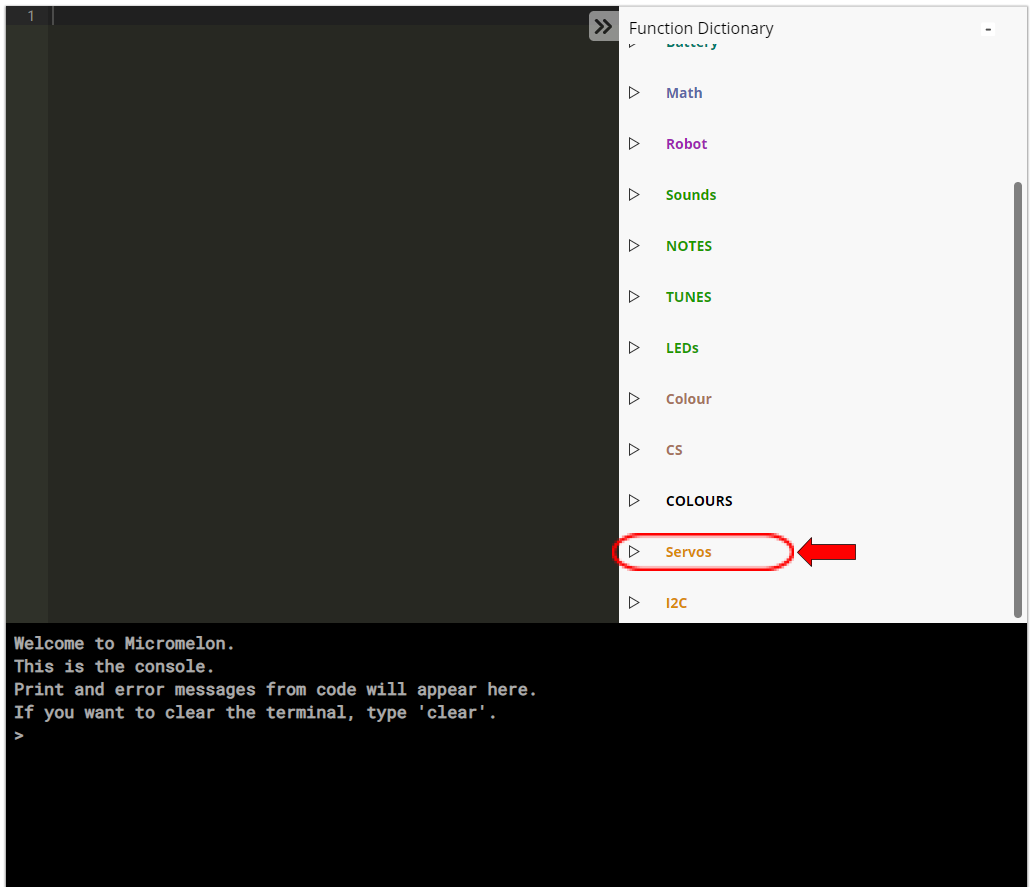
Servos functions in the Function Dictionary
For Python, all the relevant functions are under the Servos module. They work the same way the blocks do.

Set Both Servos block
Servos.setBoth(45, 30)Sets the position or speed of both servos at the same time. For positional servos, this takes inputs from -90 to 90, representing 180° of rotation.
For continuous rotation servos the input scales speed instead, 90 is maximum speed one way, -90 is maximum speed the other. The actual speed depends on the specific motor.
Set Single Servo block
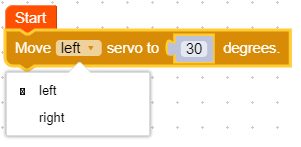
Servos.left(30)Same behaviour as Set Both, but moves only one servo, useful when you only have a single motor plugged in. Use the dropdown to pick left or right, and provide either a number or another data block as the input.

Read Servo block
Servos.read()Returns the current servo position in degrees. You can substitute this value into other blocks to react to a servo’s position.
Wrapping Up
Now that you’re familiar with the key concepts, the blocks, and the Python API, try one of the activities below to put servos to work.