Interested in starting your own after school robotics club? Here’s our quick-start guide to how we approach it.
Step 1: Gauging Interest and Goal Setting
The first step to any successful project is finding something to work towards. Find out what your students are interested in, battle bots, micro mouse, 3D printing, or anything else.
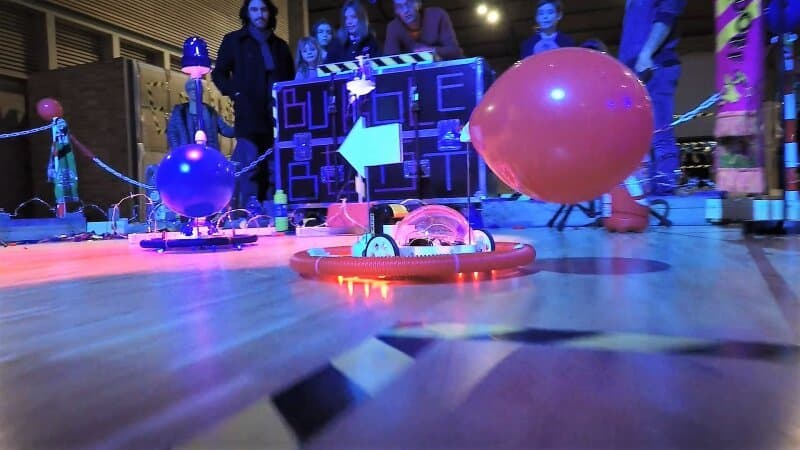
We like to use the annual RoboRave competition as a generic starting goal, since it offers a variety of challenges for students to work towards. Otherwise, researching robotics competitions or challenges in your area is a great starting point.
Step 2: Planning the First Sprint
After school robotics clubs usually run one day a week, which leaves limited time for actual crafting and troubleshooting. It’s good practice to plan with students what they want to achieve for the first term, and what a reasonable amount of time and effort that will require.
For example, for students entering the RoboRave Sumo competition, we usually push for a finalised chassis and offensive/defensive design, and a working prototype 3D design, by the end of the first term.
A rough week-by-week goal guide for term 1 could look like this:
First week of term, no club this week. Use this time to promote the club and gauge interest.
- Meet and talk to students about their interests and goals.
- Introduce them to local competitions and challenges that suit their interests.
- Brainstorm how challenges could be solved, both idealistically and realistically.
- Walk through the Engineering Design Process and draft designs on paper.
- Encourage students to design solutions, what will their robot look like? Will it use a Micromelon Rover as a base? What will they need to learn?
- Talk about realistic design goals. Encourage students to play to their strengths.
- Research!
- Allow students to prototype designs with Lego, cardboard, Arduino, or whatever resources are available.
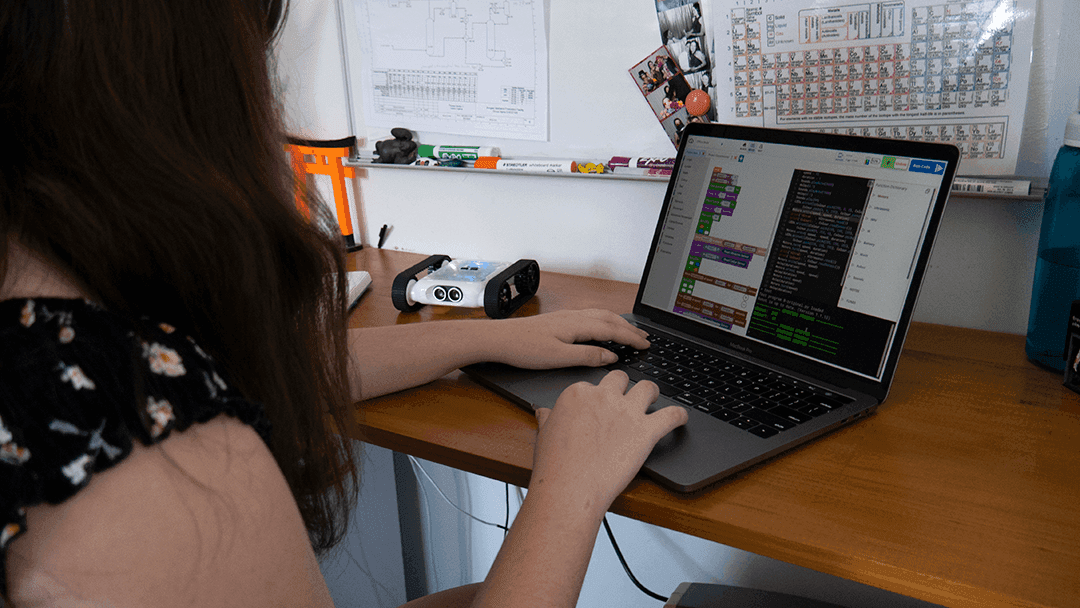
- Start thinking about translating prototypes to digital designs (CAD).
- Figure out what students will need (electronic parts, special equipment, etc). Order parts early!
- Check in with students about where they’re up to, this can be as formal or informal as you like.
- See if any students want to learn specific skills for later in the year (e.g. breadboarding electronics).
- Generally allow for more testing and creating.
- By this point, students are usually eager to get on with whatever they’re creating.
- Support them where needed.
- If any parts have been printed or manufactured, do lots of testing to make sure they work as intended.
- Support students with design changes and ideas. Mistakes are part of the learning!
- Coming to the end of the term, check in with students about continuing over the holidays.
- Order any parts needed for next term.
Last week of term, no club. Students can continue working on their projects independently over the break.
This is an idealistic week-by-week goal, usually students take an entire term to prototype and semi-finalise their ideas, and that’s totally okay. It’s about fun and learning first and foremost, so don’t be disheartened if you haven’t got a bunch of perfect robots by the end of a single term.
Step 3: Use Resources
A common concern we hear from teachers is how rarely the school’s special digital tech machines and resources get used. This could be anything from 3D printers and laser cutters to electronic kits or fancy materials. Seeing what your school has available and learning how to use it is a great way to integrate it into the robotics club. Design fun projects to get students involved with tech they might otherwise never get to use, it’s a great way to build both your and your students’ skill sets.
Learning about different tech and running different design challenges is also a great way to fill the weeks if you aren’t working towards a specific challenge or competition. There’s a million new things to learn in 3D printing alone!
Step 4: Get Involved and Have Fun
There’s nothing better than a passionate teacher who is just as excited about the learning as the students are. We love to update our classes on the projects we’ve been working on, it’s a great way to inspire students and stay involved. Build your own robot alongside them, participate in the challenges, and it will make a world of difference to both your and your students’ learning.
Wrap Up
At the end of the day, there’s no one way to run an after school club, make it your own. Figure out what you and your students want to work towards, do some rough goal planning, and use all the resources available. It may not run 100% smoothly or to plan, but that’s just the way robotics usually goes.
We look forward to seeing your robots in the field!